You can download the source code for your Dropsource project at any time. Select Deploy this Build for the relevant build in your Builds list in the editor, then select Download Source Code. Once downloaded you can import your code into the Android Studio IDE. Your download will be in a zipped archive file, so unzip it before continuing.
Before Importing
If you edit the source code for your app outside of Dropsource there is no way to import your changes back into the editor.
Similarly, if you make any additional changes to a project inside Dropsource after importing it into your IDE, you will need to download and import the updated code into your IDE again.
Your source code download is a reflection of your app at the time of your last build inside Dropsource, made available for a one-way transfer to the IDE. However, if you plan to release multiple versions of your app you can do so from your source code – for each new version:
- Make your changes in the editor.
- Build your project.
- Download the source code.
- Import it into your IDE.
- Export for release.
If you don’t make any changes to the source code outside Dropsource, you can continue delivering future versions from Dropsource via your IDE using this method. If you do make changes outside Dropsource, you will need reapply those changes each time you download your source code from the platform. If you don’t need to make any changes to your Dropsource project in an IDE, you can request the Dropsource publishing service to have your app launched without the need to download your code at all.
Importing into Android Studio
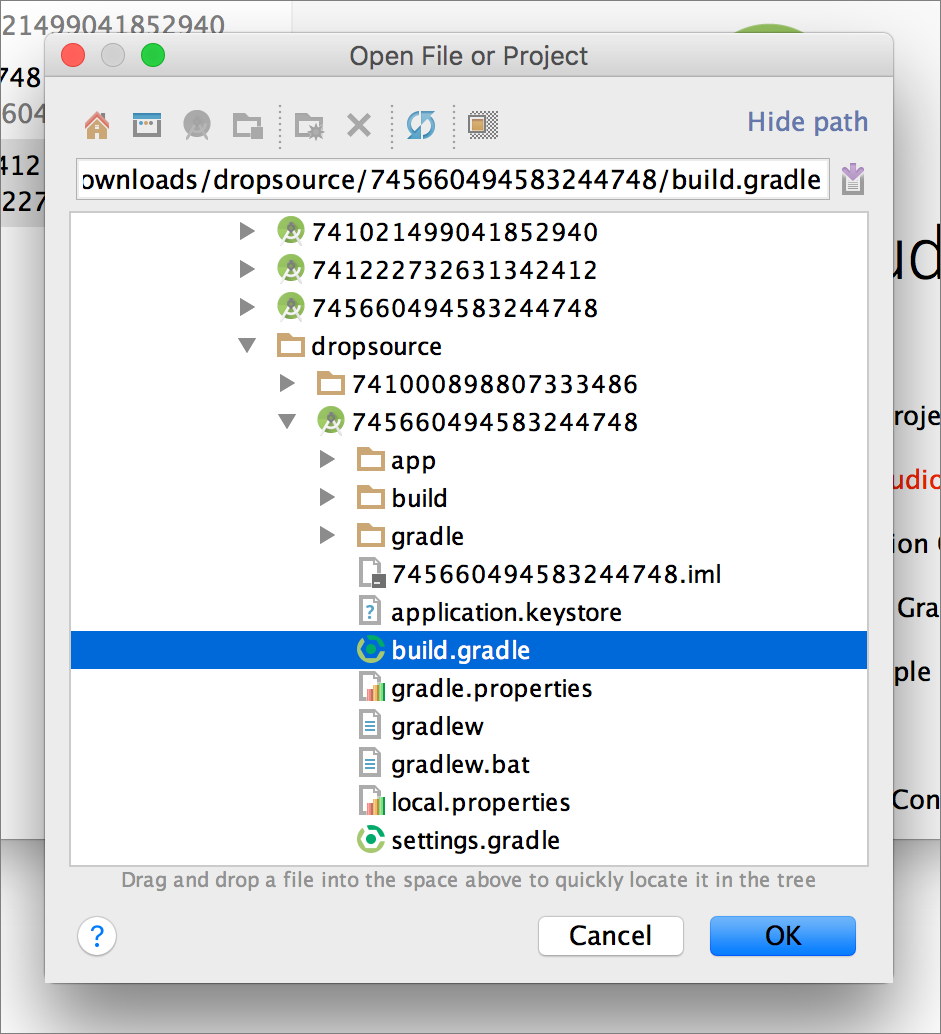
Open Android Studio and select Open an Existing Android Studio Project or File, Open. Locate the folder you downloaded from Dropsource and unzipped, choosing the “build.gradle” file in the root directory.
Android Studio will import the project. You may see warnings or errors regarding SDK and Android versions – if so click the links in the messages to set up your installation of Android Studio with the required versions and components.
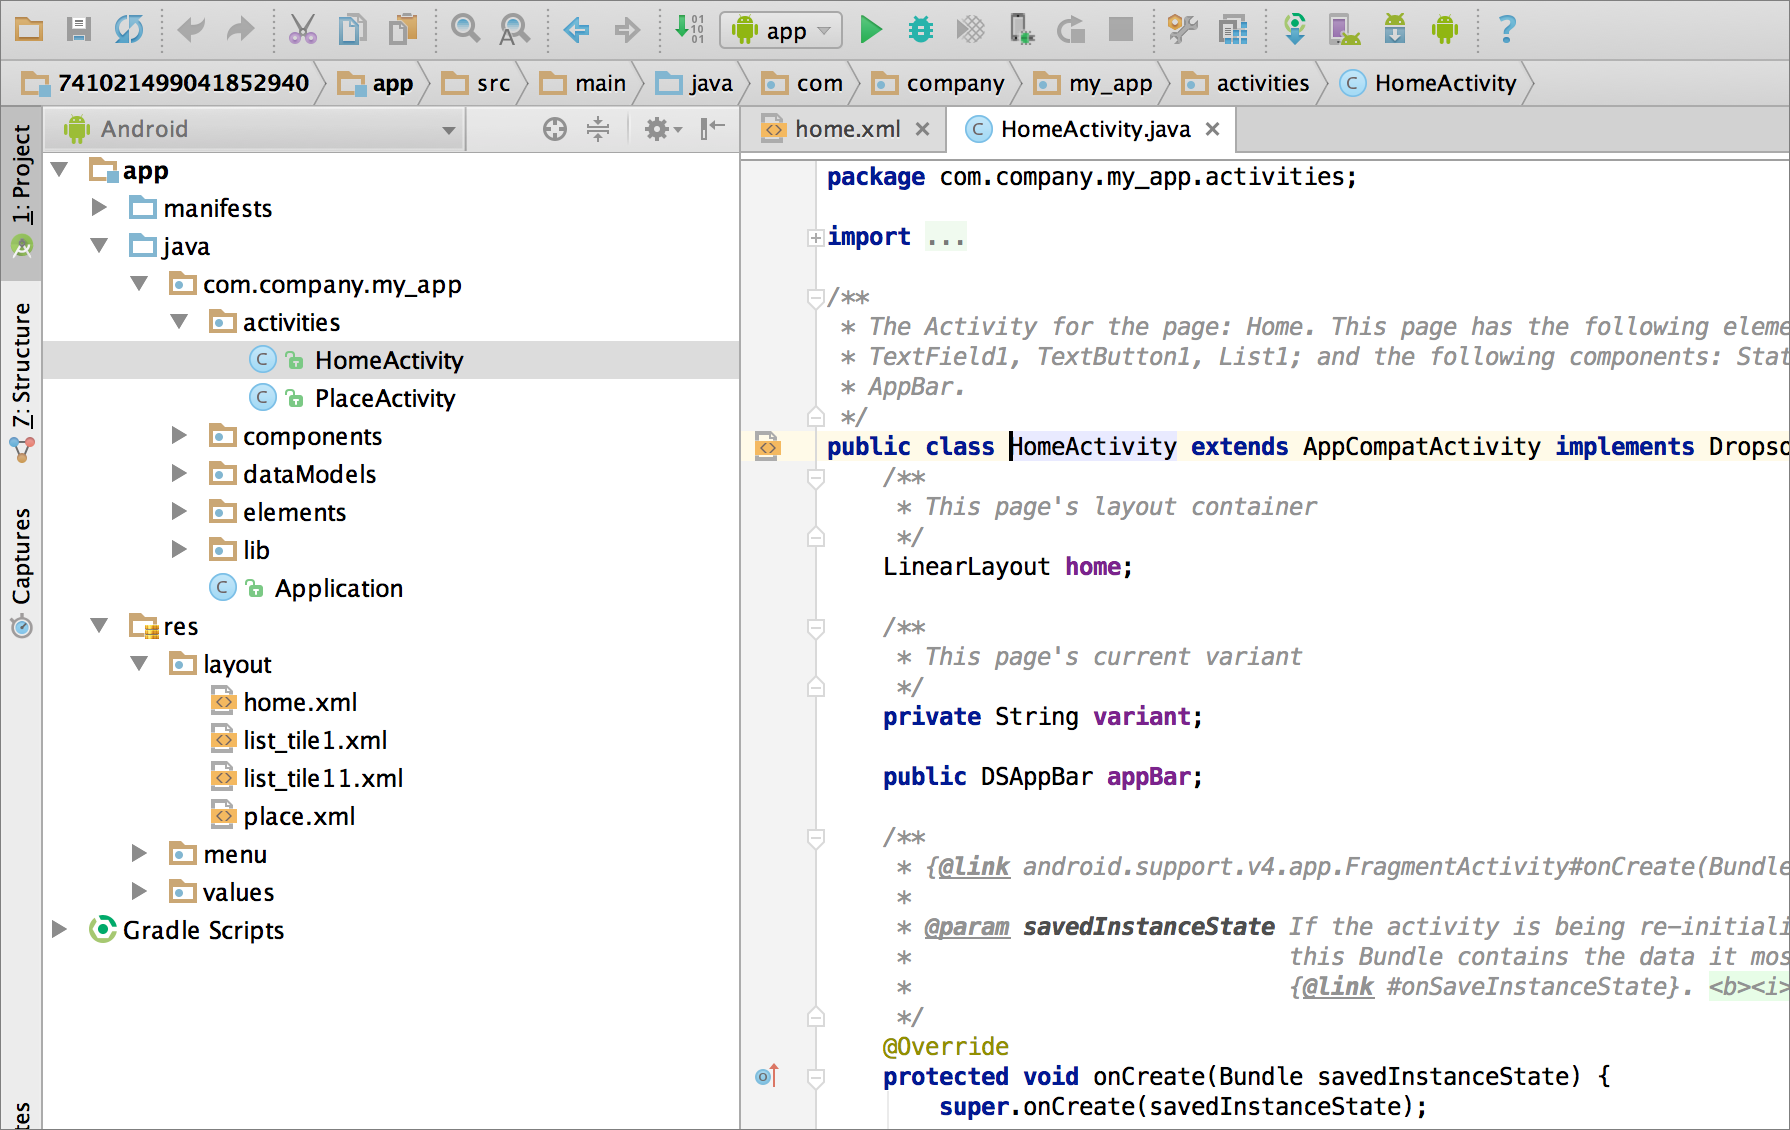
Select Project on the left side to view and explore the files in your app.

Open the “res/layout” directory to access the UI configuration for the app, including pages and other layout components. Select an XML file with the name of one of the pages you created in Dropsource to view it graphically.

Select the Text tab to view the XML markup code for your layout.
In the “java/<package-name>/activities” directory you will find the Java programming code for each of your app pages, with additional functionality defined in the other Java files in the directory.
Click the Run button to run the app – if you have not already created an Android emulator, Android Studio will prompt you to do so at this point. Once you have an emulator, select it to launch your app on it.

Android Studio will run your app on the emulator.

Make sure you don’t spend too much time working on your app in Android Studio if you still need to work on it in the Dropsource editor, as your local changes will not be reflected in Dropsource.
Extending and Customizing
If you are willing to write the required Java, XML, or other code to make alterations, you can do so with your source code download imported into Android Studio. You can extend the functionality defined in Dropsource with SDKs and other options not supported inside the editor – however, if you do require functionality that is not available in Dropsource, you may be able to achieve it using a plugin.
To find out more about how your Dropsource app is implemented and explore the key components of your project inside Android Studio, check out Editing an Android Project.