With your source code imported into Android Studio, you can make any changes you like before testing and releasing your app. Depending on what you plan to change in your project, you may need to edit a number of files located throughout the directory structure. Read on to learn about how your app design and functionality are delivered, and the key locations you’ll need to edit to make particular types of alteration.
Bear in mind that once you make changes to the downloaded code your Dropsource project will no longer be up to date, so make sure you have completed all of the steps you need in the editor before you spend any time working on your downloaded app. If you need to add functionality that isn’t currently available in Dropsource but want to continue working in the Dropsource editor later, get in touch at help@dropsource.com in case we can help you to achieve the behavior you need, for example using plugins.
App Manifest
With your app open in Android Studio and Project selected on the left, you’ll find the Manifest in the manifests top level folder. Double-click AndroidManifest.xml to open it.

The Manifest specifies a range of app-level settings, including:
- Permissions for any device access the functionality requires, such as location, Internet access, phone calling information, and so on. These will typically be indicated in uses-permission tags. If you add functionality to your app, you may need to enter new elements for any permissions they require. When a user attempts to install your app, they will be prompted to grant any permissions included in the Manifest.
- The components that make up the app inside the application element, including an activity element for each page you created in your Dropsource project. The landing page is indicated using an action element with MAIN in its attributes, and a category element, with LAUNCHER attribute. These are inside an intent-filter element, which specifies how an Activity (page) can be launched.
If you plan to add third-party functionality to your downloaded app using a library or SDK, you may need to add information to the Manifest. See the official guidance for more on using this file.
Java Code
Your application logic is written in Java. In the java folder you’ll find your app package, with a number of sub-folders to deliver each part of the app’s behavior. Open the activities directory to see the code for each of your app pages. Double-click an Activity to see its code.

The Activity is defined as a Java class, which specifies its behavior using methods that execute when a page starts, resumes, and stops. The Activity specifies the user interface that the page presents to the user, including the design via a line that should look something like this:
|
1 |
setContentView(R.layout.search); |
This line refers to an XML layout file named search which is in the res > layout directory – more on that below.
Also in the java folder, you’ll find classes for some of the Elements you added to your pages, Fragments (portions in an Activity UI), library code added to the app (including HTTPManager, which handles connecting to your APIs), and data models used in the app.
User Interaction
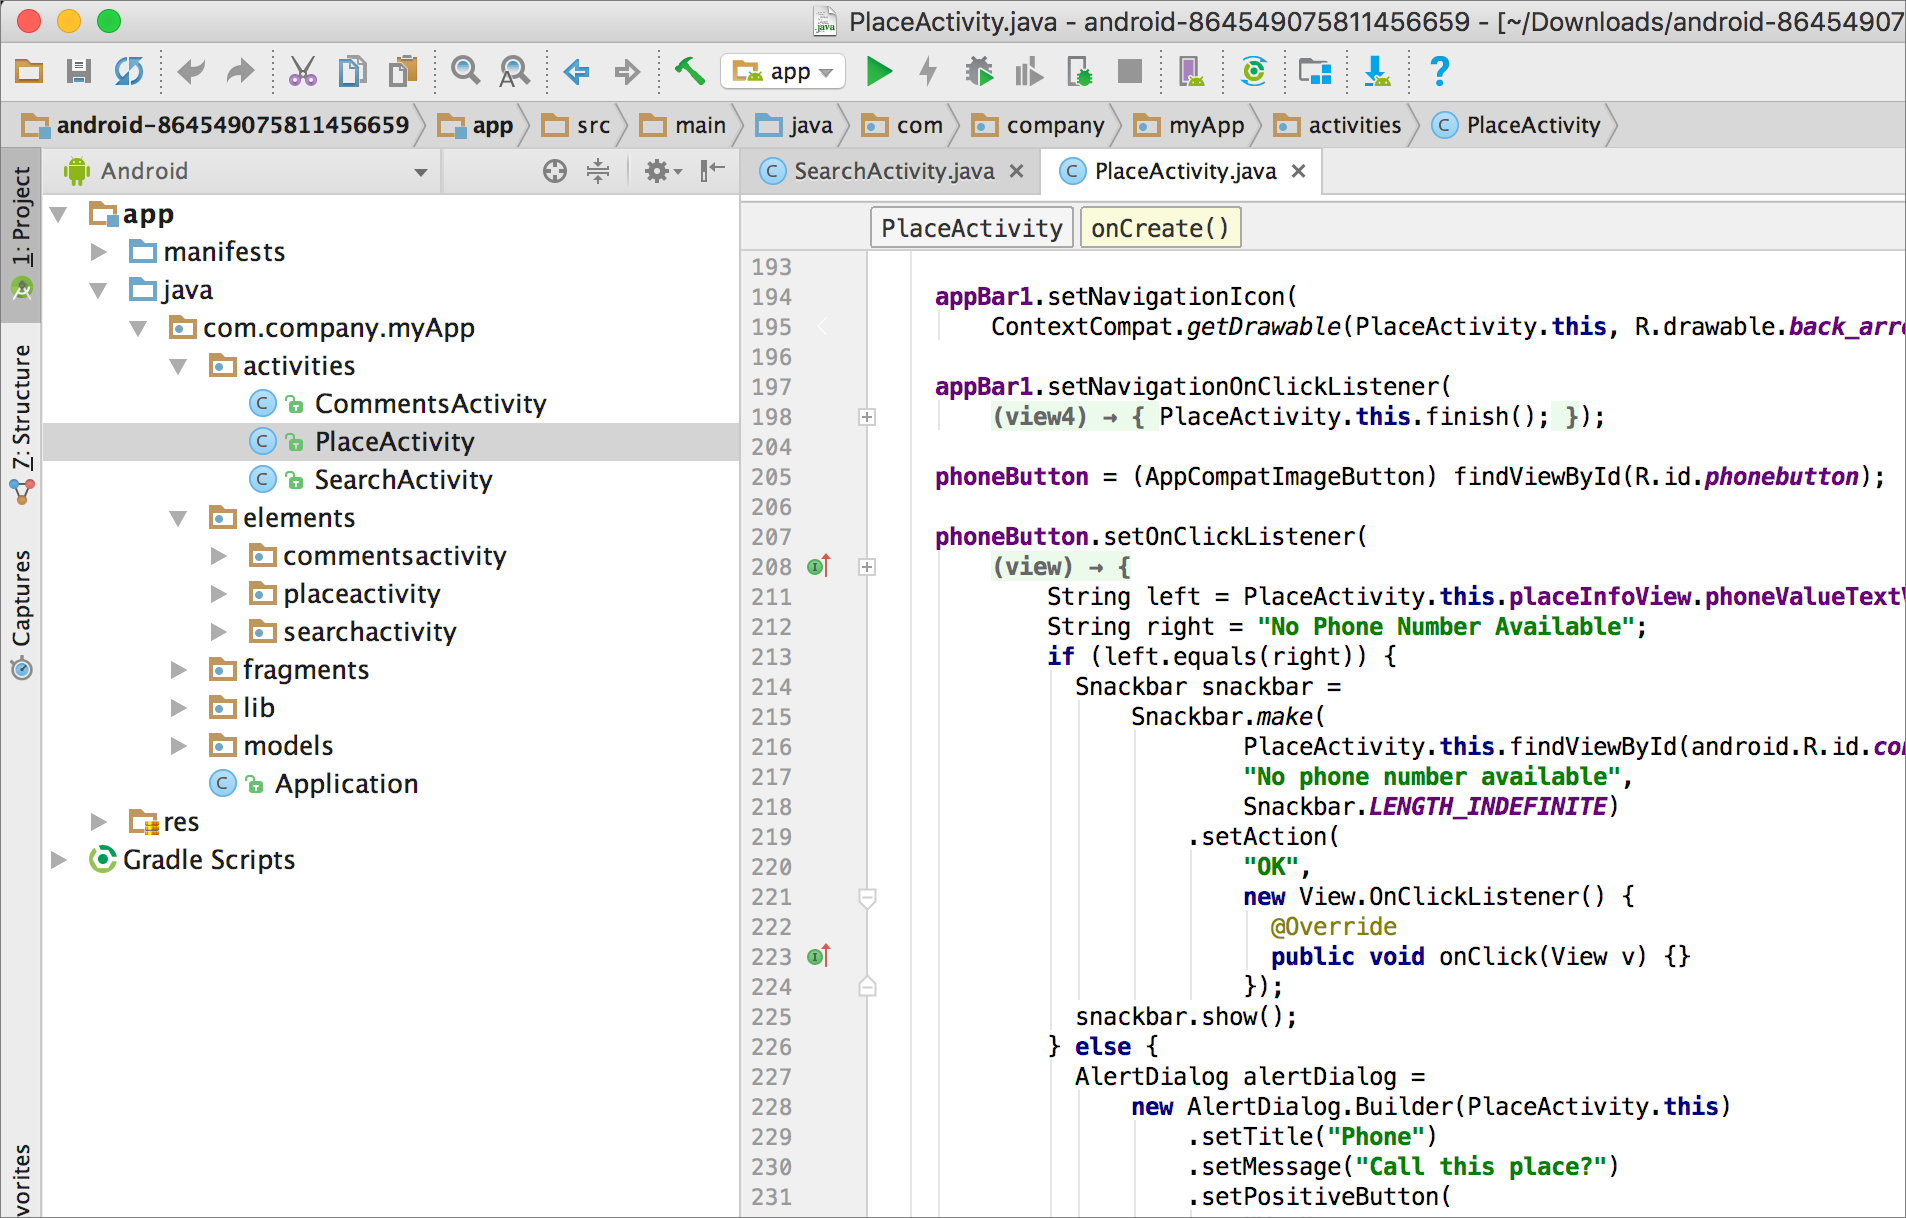
In your Activity and Element classes, you’ll find processing for the user interaction functionality you added to Events inside Dropsource, as in this part or the Place Search example app – the click listeners include the Actions added to the Tapped Events on the Buttons in the Place page:
Page Navigation
You’ll find your app page navigation implemented in the Activity (and Element) classes. For example, this excerpt from the Place Search app starts the Activity for the Place page when the user taps a List Tile, using the startActivity code.

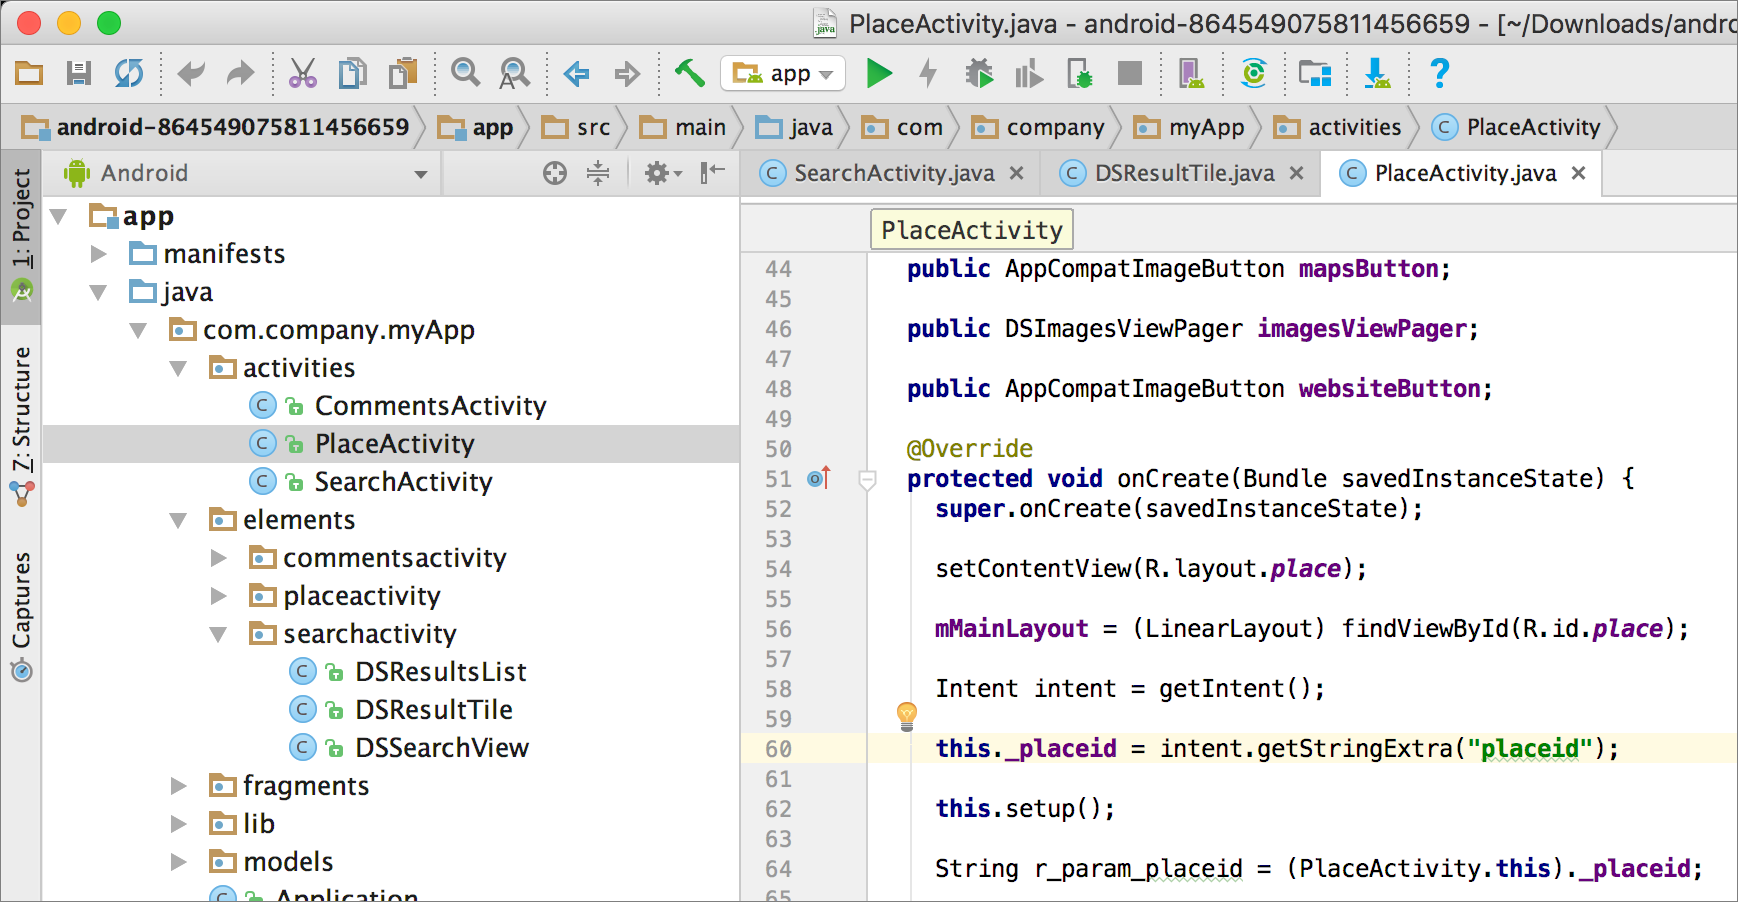
It also passes a Page Variable, using putExtra – you can see the other Activity receiving the Page Variable in its own onCreate method, with the line getStringExtra and the name of the variable:
Managing Data
Any Device Variables in your Android app are stored using Shared Preferences, as in this example where a Button Tapped Event had a Set Value Action assigning a value to a variable named “info”:

To add an SQLite database to your app, you will need to create additional classes to manage creating and connecting to the data – check out the official guidance for more detail.
Page Events
Your Activities include a lifecycle method for each of the page Events you use in Dropsource, for example any Actions you add to the Page On Load Event will be implemented in the Activity onCreate method, as in this excerpt of the Place Search app where the Place page runs an API request when the page loads:

API Requests
You’ll notice that the API request functionality uses getHttpManager – you’ll find more on this in the lib directory HttpManager class, including the details of any APIs your app uses, like this section of the GitHub example app:

If you make edits to the Java files in your app, Android Studio will prompt you with code suggestions and will highlight syntax errors as you work. Changes to your app logic will typically be made in the Activity class files for your pages.
To learn more about Activities, check out the official Android Developer guidance.
If you plan to use third party functionality in your app, you will set the details using the SDK Manager in Android Studio.

App Resources
In the res directory you’ll find the app resources, which include design info such as images (in the drawables folder) and layouts. Open a file in the layout folder – you can edit the XML code using the Text tab or interact with the layout visually in the Design tab.

The structure of your layout files will reflect the page hierarchy you created inside Dropsource using the Element Tree. If you want to make design changes you can use the controls to add Elements, to control the page structure, to set Element properties, and to see your design in different device configurations.
Any images you added using the Media control inside Dropsource will appear in the drawables folder:

In the values directory, you’ll find XML formatted values used throughout the app, including strings that are commonly used to display text in the app UI.
Testing your Changes
Use the AVD Manager to create and manage virtual devices to test your app on as you work. Clicking the Run button in the top toolbar of Android Studio will allow you to select from any available simulators or physical devices you have attached to your computer. It’s a good idea to run your app regularly as you make changes so that any issues are easier to identify and resolve.

If any errors occur while your app runs, use the logcat in the Android Monitor that appears in the bottom section of Android Studio to troubleshoot – you can add log messages to your code to make this easier.

For more involved debugging, use the Debug button.

Working on your App
Depending on the edits you plan to carry out, and your previous experience working with Java/XML, you may be able to add your enhancements quickly and easily, however if you try to make an amendment to your code and find it trickier than you expected, get in touch help@dropsource.com in case we can help by adding a plugin to your original Dropsource project.