You can connect your Dropsource apps to any RESTful API using OpenAPI (formerly Swagger) specifications. This can be particularly useful during the early phases of a project, when you want to start prototyping an app while you’re still figuring out the data models. To try out the Dropsource functionality, you can quickly mock up an API to return example data using the StopLight web app.
This tutorial will walk you through the process of defining a simple API in StopLight, generating a specification, and importing it into Dropsource. From there you can run requests and connect the results into your Android and iOS UI Elements.
Create a Mock Data API
For this tutorial you will use StopLight’s Prism proxy service to return example data you can connect to your Dropsource Elements. Once you import the spec, you will be able to try out the API endpoints within the Dropsource editor, while designing your Android and iOS apps.
Sign up for an account with StopLight or log in if you already have one. You can configure your API to various levels of detail, but for the moment keep things simple and define a single endpoint using the process below.
Create a Workspace by choosing New > Workspace.

Create a new API by choosing New > API.
Choose Create from Scratch and give the API a name – the examples in this tutorial will be for a user details data source. Click Create – you will come back to the hosting details later.

Create an Endpoint
Click New > Endpoint:

Choose a name for the endpoint, such as “Get Users”. In the HTTP Method list, select GET. Enter a Path, for example “users”:

In the Produces drop-down list, select application/json
Click Responses to define what the endpoint will return. Click + and select Example – add a small amount of sample data.
The example indicates a root object containing an array of user objects, each with a name text string and a customer ID reference string:
|
1 2 3 4 5 6 7 8 9 10 11 12 |
{ "users": [ { "name": "John Smith", "cust_id": "12345" }, { "name": "Mary Jones", "cust_id": "56789" } ] } |
Click Generate Schema from Example and StopLight will build the schema from this data structure.

Click Create.
Mock the Response
Now that the API is defined, all you have to do is mock the response so that you can test it out without hosting any real data. Click API Settings > Prism.

Scroll down and click the switch to turn on Global Mocking.
Back in Design > Dashboard, select the GET endpoint again. Click Send Request, then Send. The endpoint will return the example data you added:

Back in Design > Dashboard in the Global Settings section, copy the Proxy Server URL, paste it into the API protocol + host field, and click Save.
Connect the API to Dropsource
Now you can connect a Dropsource app to this sample data. Export your API specification from StopLight by clicking Export and choosing OAS (Swagger 2) .json.

Save the JSON file locally.
Log into Dropsource and create a new project, or open an existing one. If you’re working with a new app, add a new page and set it as the landing page.
Import the API Specification
Select the API tab in the Dropsource editor and click the plus ![]() button to add your specification:
button to add your specification:

Click Choose and browse to the spec file you exported from StopLight. Dropsource will upload it into your project.

If you receive validation errors when you attempt to upload your spec file into Dropsource, it will provide details of the issues you need to fix, although in some cases this is not possible. Try using a Swagger / OpenAPI validator (e.g. Swagger 2.0 Parser & Validator) to identify errors.
Close the upload modal. Dropsource will list all of the available endpoints from your API in the drop-down list. Since the example only has one endpoint, select it and click Add.

Click the request to configure the details of what the app should do when it runs. In the Parameters section, you can configure any query parameters or post data your endpoints require – since this is only a simple GET endpoint, you won’t need to set any details here.
In the Responses section, you will see the details of the GET endpoint you defined in StopLight, including the fields you specified for each user. Remember that the endpoint returns an array of user objects. Dropsource represents arrays as Data Sources.

You can bind the response array to a UI Element that can display a collection of child Elements dynamically, such as a Table, Dynamic List, Page Controller, View Pager, Card Swipe Controller, or Collection View.
Add User Interface Elements
Your app will need some UI Elements to display the API request results. Drag a Table, Dynamic List, View Pager, Page Controller, Card Swipe Controller, or Collection View from the Elements drawer onto the canvas and position it wherever you like. With the Element selected, in Properties > Styles set the Content to Dynamic (where relevant).

This will allow you to use the dynamic API data in the Elements. Drag a child Element onto the dynamic Element (choose a Table Cell, List Tile, Pager View, Page Controller View, Card Swipe View, or Collection View Cell) and place two Labels or Text Views inside that.
Bind Response Data to UI Elements
Now you can connect the API results to these Elements. Open the API tab again and select the request you added. Open the Responses section.
You need to bind the Data Source to an Element that can contain repeating Elements, which will be the Table, Dynamic List, Page Controller, View Pager, Card Swipe Controller, or Collection View. Drag the Data Source from the Responses section over to the canvas and drop it on that Element, which will appear highlighted with a dotted outline.

You can alternatively click a field and select the Element you want to bind it to.

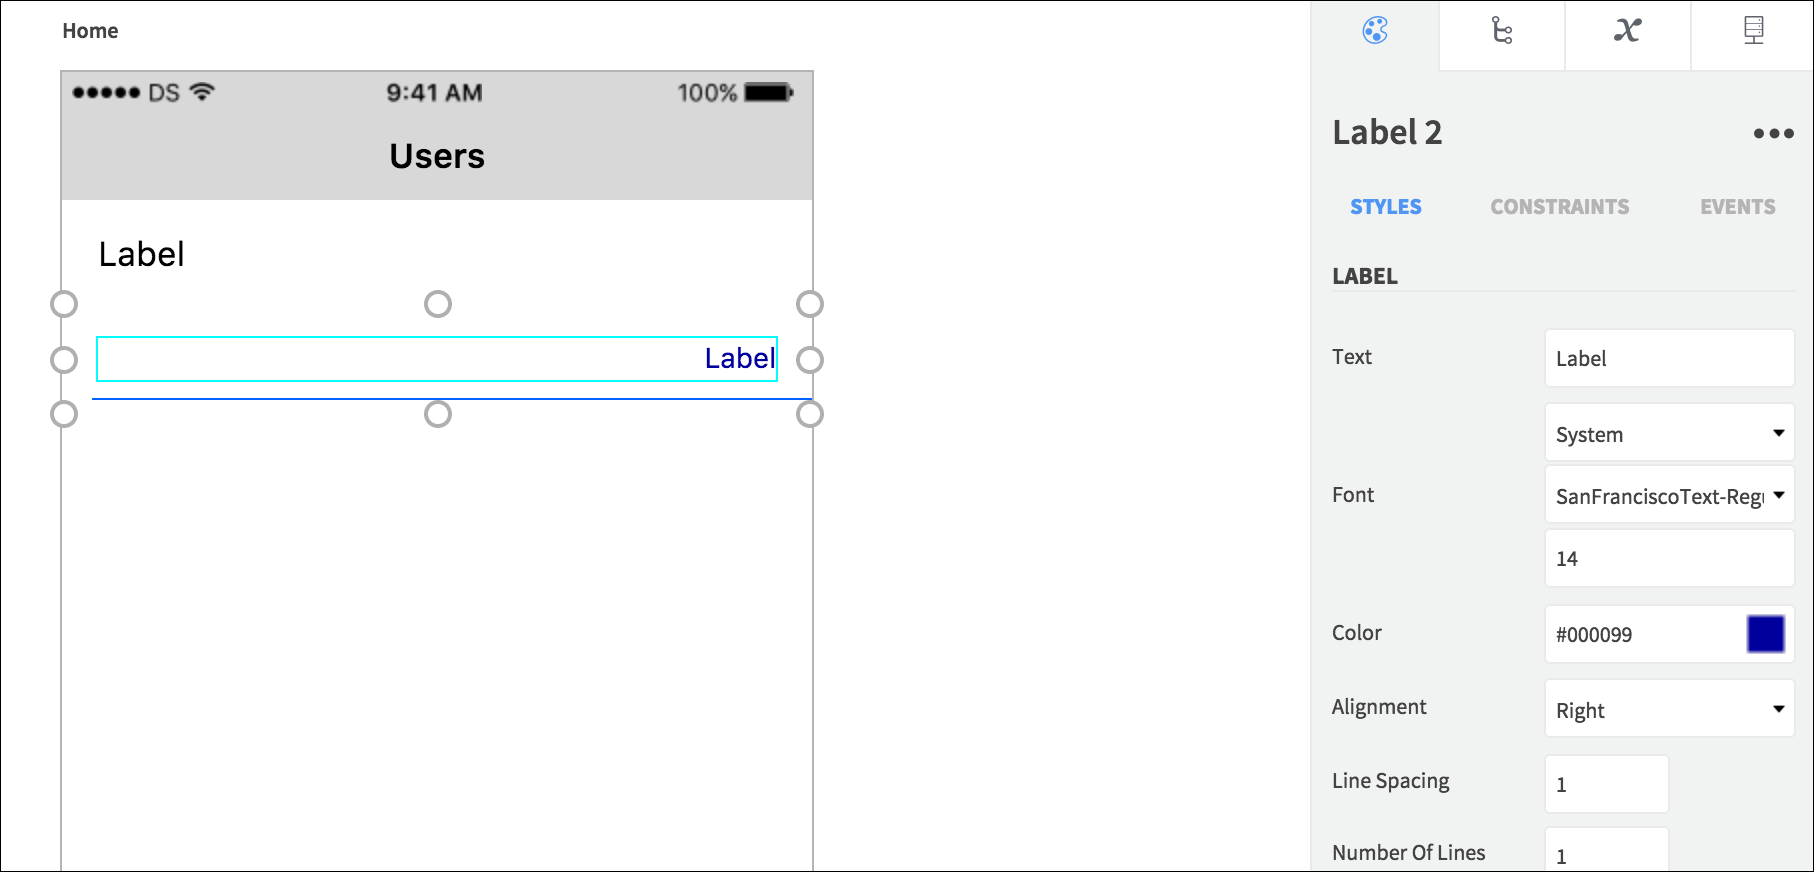
Next bind each of the two response fields onto the Labels / Text Views you added. Each field is highlighted with a green dot when it has been bound.

Run the Request
Now all you need to do is specify when the request should run – for simplicity you can just run it when the page loads. Select the page on the Canvas or Element Tree and open Properties > Events. Click Add for the Page Loaded Event.

Click the plus ![]() button to add an Action. Choose Run API Request. Click Edit and select the request.
button to add an Action. Choose Run API Request. Click Edit and select the request.

Save the Action.
Now you can run the app – click Test (with the Web Simulator selected in the test configurations menu). Once your app is built you’ll see it in Builds – choose Test in Web Simulator. When the app launches you should see your sample data written into the UI.

Next Steps
As you can see, in the Dropsource editor, you can use the same drag-and-drop interaction to define your UI Elements and to connect them to external data. If you’re at the prototyping stage in your app development process, you can get on with building your frontend while the backend is still being developed – once you have your data models sorted, you can simply swap out the mock API details, connect your app to the real data source, and it’s ready to go.
Next why not try using a POST method or adding a parameter to your GET method query string – you can connect the request details to UI Elements such as input text-fields using exactly the same technique as the one you used for the response fields in this tutorial. If your requests require authentication, Dropsource also provides the ability to configure your access details in the API tab – try it with a real API!