Each screen in your Dropsource app is represented by a page. Your project requires at least one page, and your pages can use a variety of configurations and navigation types.
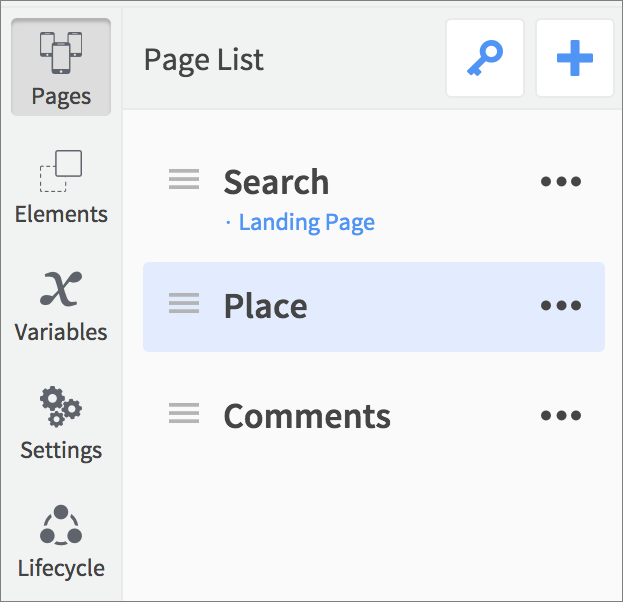
When you create a new project, you will be prompted to create a page. Use the plus ![]() button in the Pages drawer on the left.
button in the Pages drawer on the left.
Choosing Page Configurations
Choose any, all, or none of the page configuration options – these are platform dependent and determine the elements that appear above and below the page:
iOS
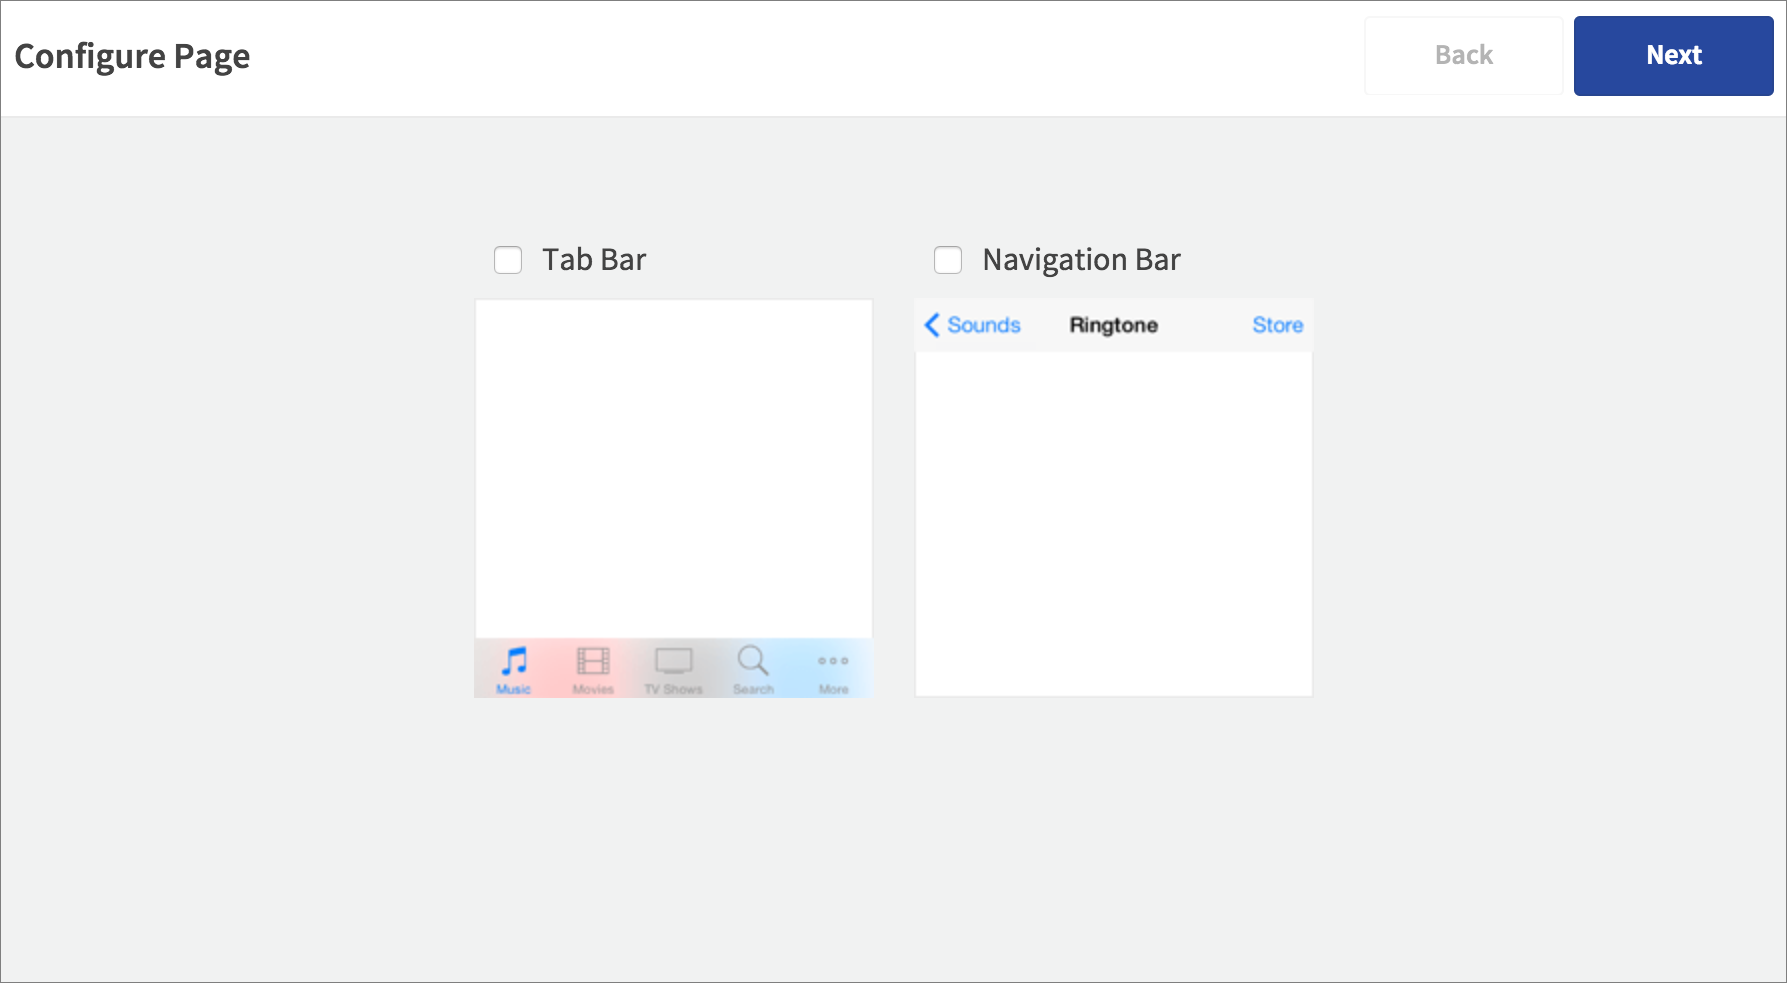
- Navigation Bar – Use this to display a title and up to two buttons. The left button can provide default navigation back to the previous page the user viewed.
- Tab Bar – Display tabs with icons and labels for navigating between pages. Your app can only use one Tab Bar, and each page you create with the Tab Bar selected will automatically be added as a tab. Your app can contain other pages without the Tab Bar.
Android

- App Bar – Use this to display a title, navigation icons, and any number of action icons in a menu.
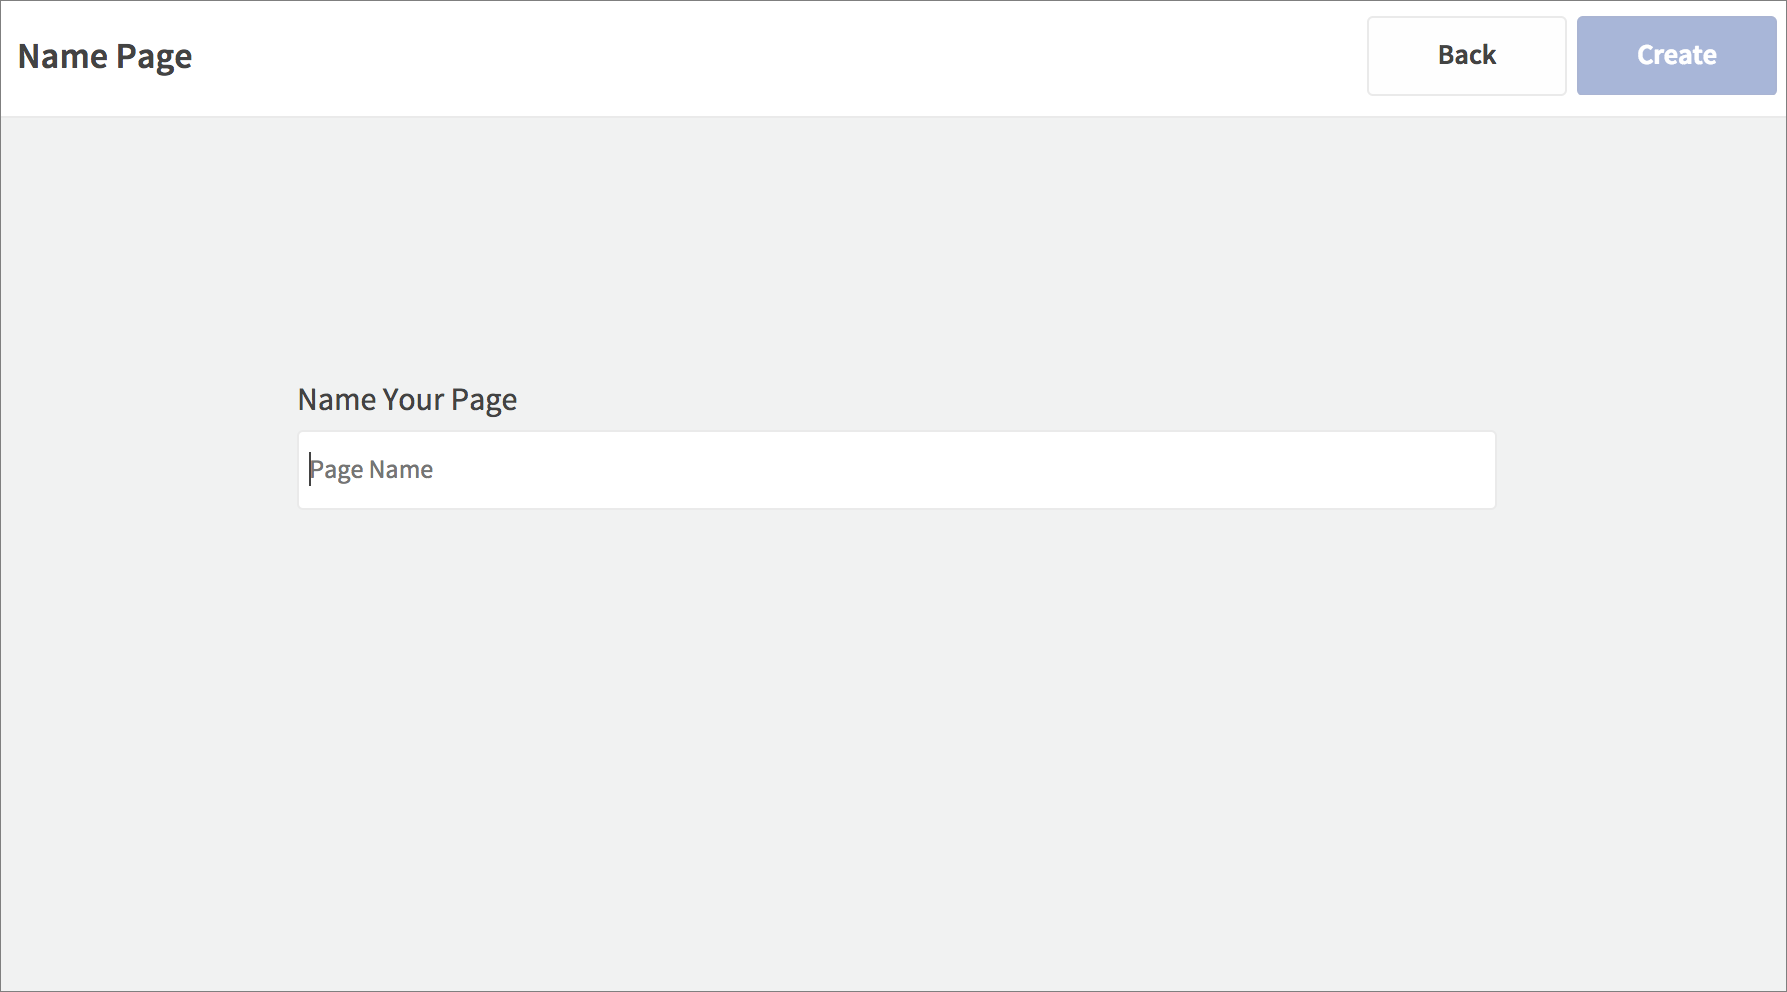
Give your page a name and create it.
Style the page config elements and add buttons in the Properties tab, and respond to taps in the Events section.
To edit the config elements that appear above and below a page, select Edit Navigation next to the page name in Pages.

Select and/or deselect elements to add and remove them.
Setting the App Landing Page
The first page you add will automatically be set as the landing page – the page users will see when they first launch the app. To change the landing page, use the key ![]() button.
button.
Managing Pages
To work on a page, select it in the Pages drawer on the left.
You can also rename, delete, and reorder the pages.
Supporting Page Navigation
If you use the Tab Bar, your users will automatically be able to navigate between the pages included in it. Otherwise, you will carry out page navigation using Go To Page and Go Back Actions (the Nav Bar can also provide default back navigation). You can alternatively use Page Controllers and View Pagers to allow users to swipe between Views.