Dropsource connects to external data via REST APIs. If you have data hosted on the web that you want to connect to in your app, or if you need structured data, you will need an API. You can use third party web services or your own APIs, making requests to send and receive data. You can cache API data to minimize network requests and cope with connectivity issues on the user device. To build an API request in Dropsource:
- Import an API specification OR use a demo API.
- Authenticate with the API.
- Add a request to a page in your app.
- Send data to the request via parameters.
- Display or process the responses.
- Access network logging information when your requests run.
If you haven’t set your API up yet, check out the API Tools section for recommended options.
To add an API to your project, open the API tab on the right of the editor and click the plus ![]() button.
button.

Importing an API Spec
To import an API, you will need to upload or link to an OpenAPI (Swagger) specification that describes the endpoints you want to use in your app. You can import a spec for your own API or for a third party service.

Dropsource will display an indicator of your upload progress – if there are any validation errors you will see details so that you can address the issues and attempt your upload again.
If you’re not sure how to create an API specification or need guidance on creating an API, check out Data and Dropsource for tips on getting started. In order to work in Dropsource, your API and specification will need to meet a few requirements.
Once your API is imported you will see it in the API tab – you can delete or update it from here at any time.

When you update an API, Dropsource will attempt to retain the details of any requests you have in the project. For your reference Dropsource will highlight requests and fields that your update has removed.

If your API requires authentication you can configure that next, otherwise you can start building requests.
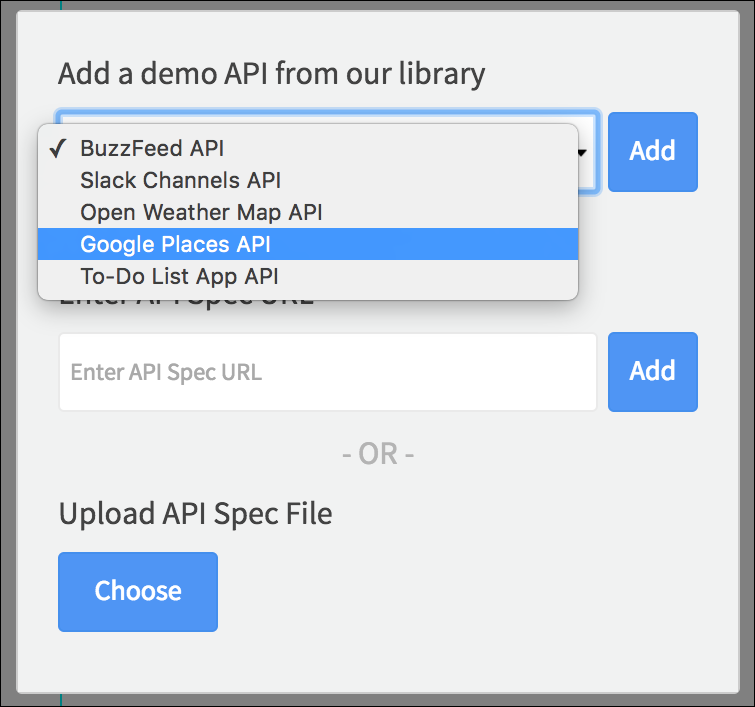
Using a Demo Library API
Dropsource provides a range of demo APIs you can try out – select one from the drop-down list and add it to your project.
When the API is added you will see it in the API tab. Some of the demo library APIs require authentication, otherwise you can start making requests straight away.
Authentication
If an API requires requests to be authenticated you will see a Set Authentication option in the API tab.

You can use Basic, API Key, and OAuth2 Password authentication in Dropsource.

When you set the authentication details for an API, it applies to all pages in your project.
▸ FAQ: How do I log a user in via API?
Once your auth setup is complete you can start building requests.
Network Logging
You can access network logging information for any requests you run in the simulator for your app. With the simulator open, switch on the Network Activity Log.

When you run the app in the simulator you will see the network activity for any requests that execute (if you’re using cache you’ll only see network requests when there is no valid cache available and the app is fetching new data).

Select the relevant request to see more detail on it. In the Preview you can access the data your request is returning by expanding the JSON objects received.

Use the Response section to access the raw JSON data.
In the Headers you will see an overview of responses including status codes, URLs, and parameter values.

Use the Timing section to access performance data for the API.
If you’re having trouble getting an API request to behave the way you need it to, check out our troubleshooting guide.