You can test your app in the browser, on a mobile device, by submitting it to a beta testing service, or by downloading the source code and importing it into an IDE.
To test your app, you first need to create a build – a build represents your app at a particular point in time. When you create a build, Dropsource writes the source code based on the current state of your project in the editor, then it compiles the code into an executable format that can run on the simulator or a mobile device. You can share your app with others by sending them a link to test in the browser, or a download link to install the app on their own device.
You can test in the web simulator or on a mobile device from any Dropsource project. However, you can only download your source code (for example to publish to an app store) with a source code license or an Enterprise account. From an Enterprise account you can additionally submit your app to a beta testing service. See Dropsource pricing for an overview of the options.
Set a test configuration by clicking the right-hand portion of the Test button and choosing either Web Simulator or Mobile Device.

With a config selected, click the Test button to initiate a build. You can cancel a build if necessary, and can continue working on your project while the build is in progress, but the built app will represent the state of the project when you hit the Test button.

Each time you make a change to your project and want to test the result, you will need to create a new build by clicking Test again.
If your build fails, you will see a notification and details of the error will appear in Builds – get in touch if you need support. If your build seems to be stuck, try refreshing the browser – this will not affect any build that is underway, but you should see an updated progress indicator.
Web Simulator
You can test your app in the browser without leaving the Dropsource editor, using the Appetize simulator. With Web Simulator selected in your test configurations, clicking Test will create a build you can run in the browser.
Dropsource will write the source code for your project and compile it to run on the simulator. When your build is complete, you will see a pop-up confirmation message.
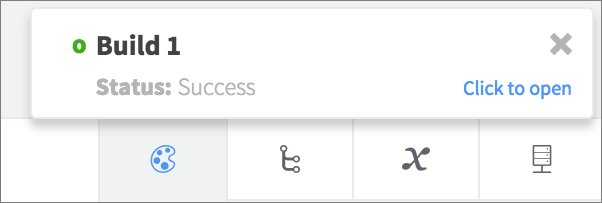
Any builds you have created will appear in the Builds list.
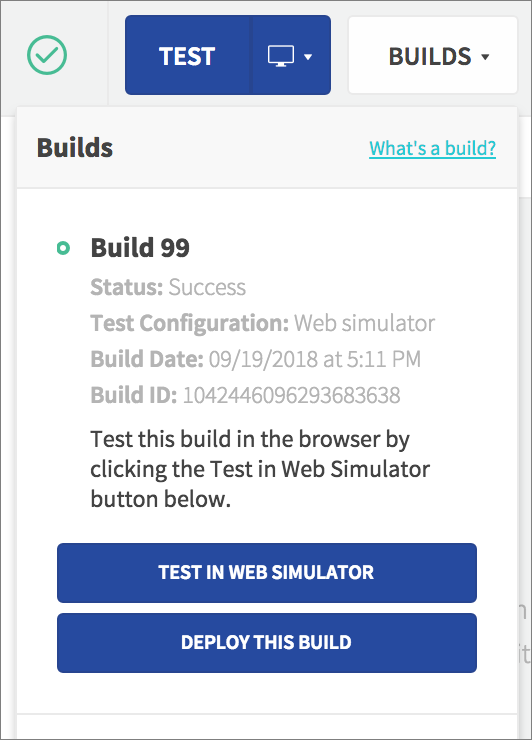
From there you can run your app in the browser by choosing Test in Web Simulator.
You can share your app build in the simulator via link, email, and social media. Choose an option next to the virtual device to copy the link or share it to a particular platform.

Anyone you share your app prototype with can interact with it in the simulator and access its functionality, including any dynamic data you’re using from an API.
Select from the iOS and Android device configurations – you can interact with the app to test its functionality, but certain Actions cannot run on the simulator, such as telephony and location functions. Any Actions that can’t simulate are indicated in the Actions list.

The simulator is a quick way to iteratively check your app’s behavior without leaving the editor, but to test native functionality you’ll need to run it on a mobile device. You may also find that the simulator performance varies since it uses a third-party web service, so your app might run faster on a device.
Mobile Device
You can test your app directly on an Android or iOS mobile device without having to download the source code and compile it yourself. With Mobile Device selected in your test configurations, clicking Test will create a build that will run on a device with the same OS (you can run Android projects on Android devices and iOS projects on iOS devices).

Dropsource will automatically send an email to your account address – this email will contain a test link to install the app. Open the email on your Android or iOS device and click the link. The email will contain instructions on how to install the app on iOS or Android. Note that the link in the email will expire after 7 days.
The testing options suit different stages of your app development project:
- The advantage to testing on a device is that you can access the full range of native functionality such as location and notifications, and see your app in a real world context. There’s no need to handle your source code or deal with the Xcode or Android Studio IDEs, and you can forward the email to coworkers, clients, and other stakeholders so that they can also install the app and try it out.
- The downside to testing on a device is that you need to have access to hardware that’s compatible or can be configured to work with your Dropsource project, and each time you make a change you will need to install the app again, making the feedback loop a little slower – testing in the simulator is a more convenient option for most small, iterative changes. You can also share any build of your app in the simulator, so you can send it to others on your team who can also test it in the web browser.
Beta Testing
You can submit any app from a Dropsource Enterprise account to a beta testing service such as TestFlight (iOS), Google Play Beta Testing (Android), and Crashlytics Beta (iOS and Android). This allows you to gather feedback on your app before deploying it to your target users.
To submit an app for beta testing, create a build of the app, and in Builds, select Deploy this Build.
Choose Submit to beta testing service.

Click Request Assistance and the Dropsource team will be in touch with next steps to walk you through the beta testing submission process.

After Testing
Once you’re finished testing, you can download or deploy your app from any build you have created.