In this tutorial series you are rebuilding the Checklist example app in Dropsource. Last time you created a page to display and delete user lists. The next page in the app will allow the user to create a new list.

Add lists page on iOS / Android.
Create another page in the app, selecting the Nav Bar / App Bar config, and the name “Add Checklist”. Select the page and set any styling properties you like, such as background color. Set the page Navigation Item Title (iOS) / App Bar (Android) Title property to “Add List”, and on iOS, check Back Button Enabled. On Android, select the App Bar and in Properties, set the Nav Icon asset to a back arrow image:
![]()
Select the App Bar and open Properties > Events, clicking Add for the Nav Icon Tapped Event. Add an Action, choosing Go Back a Page.
Navigate to the Add Page
Back in the Lists page, select the Add Button and open Properties > Events. Click Add for the Tapped Event, choose the Go To Page Action, and select the Add Checklist page, with Push transition.

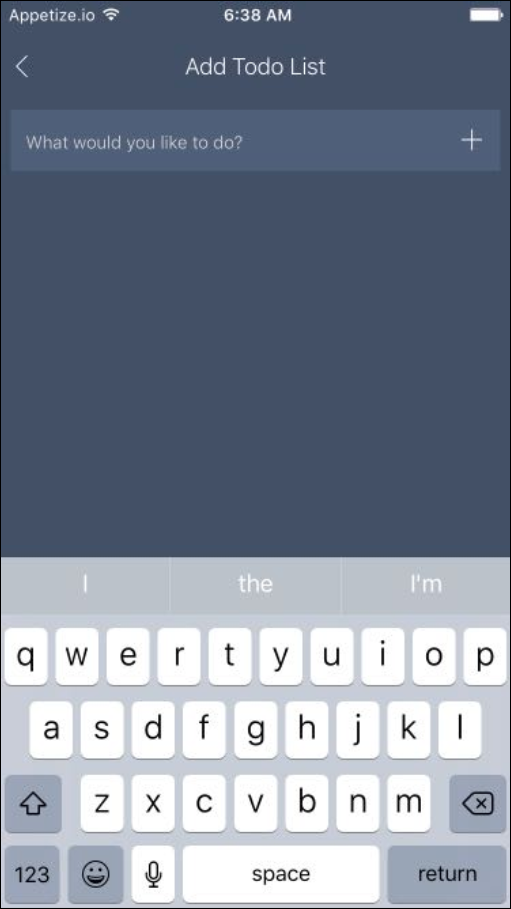
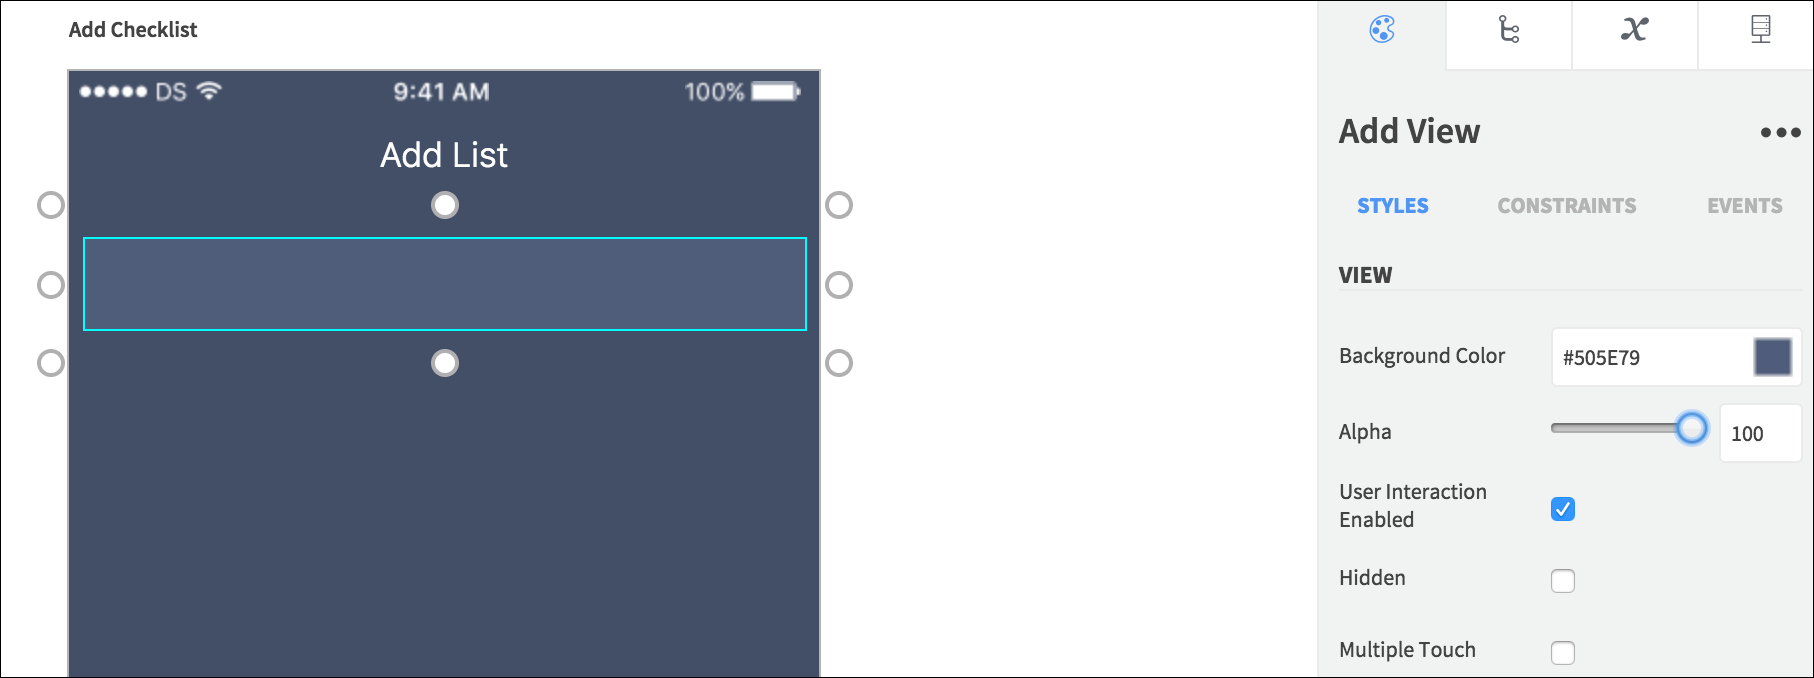
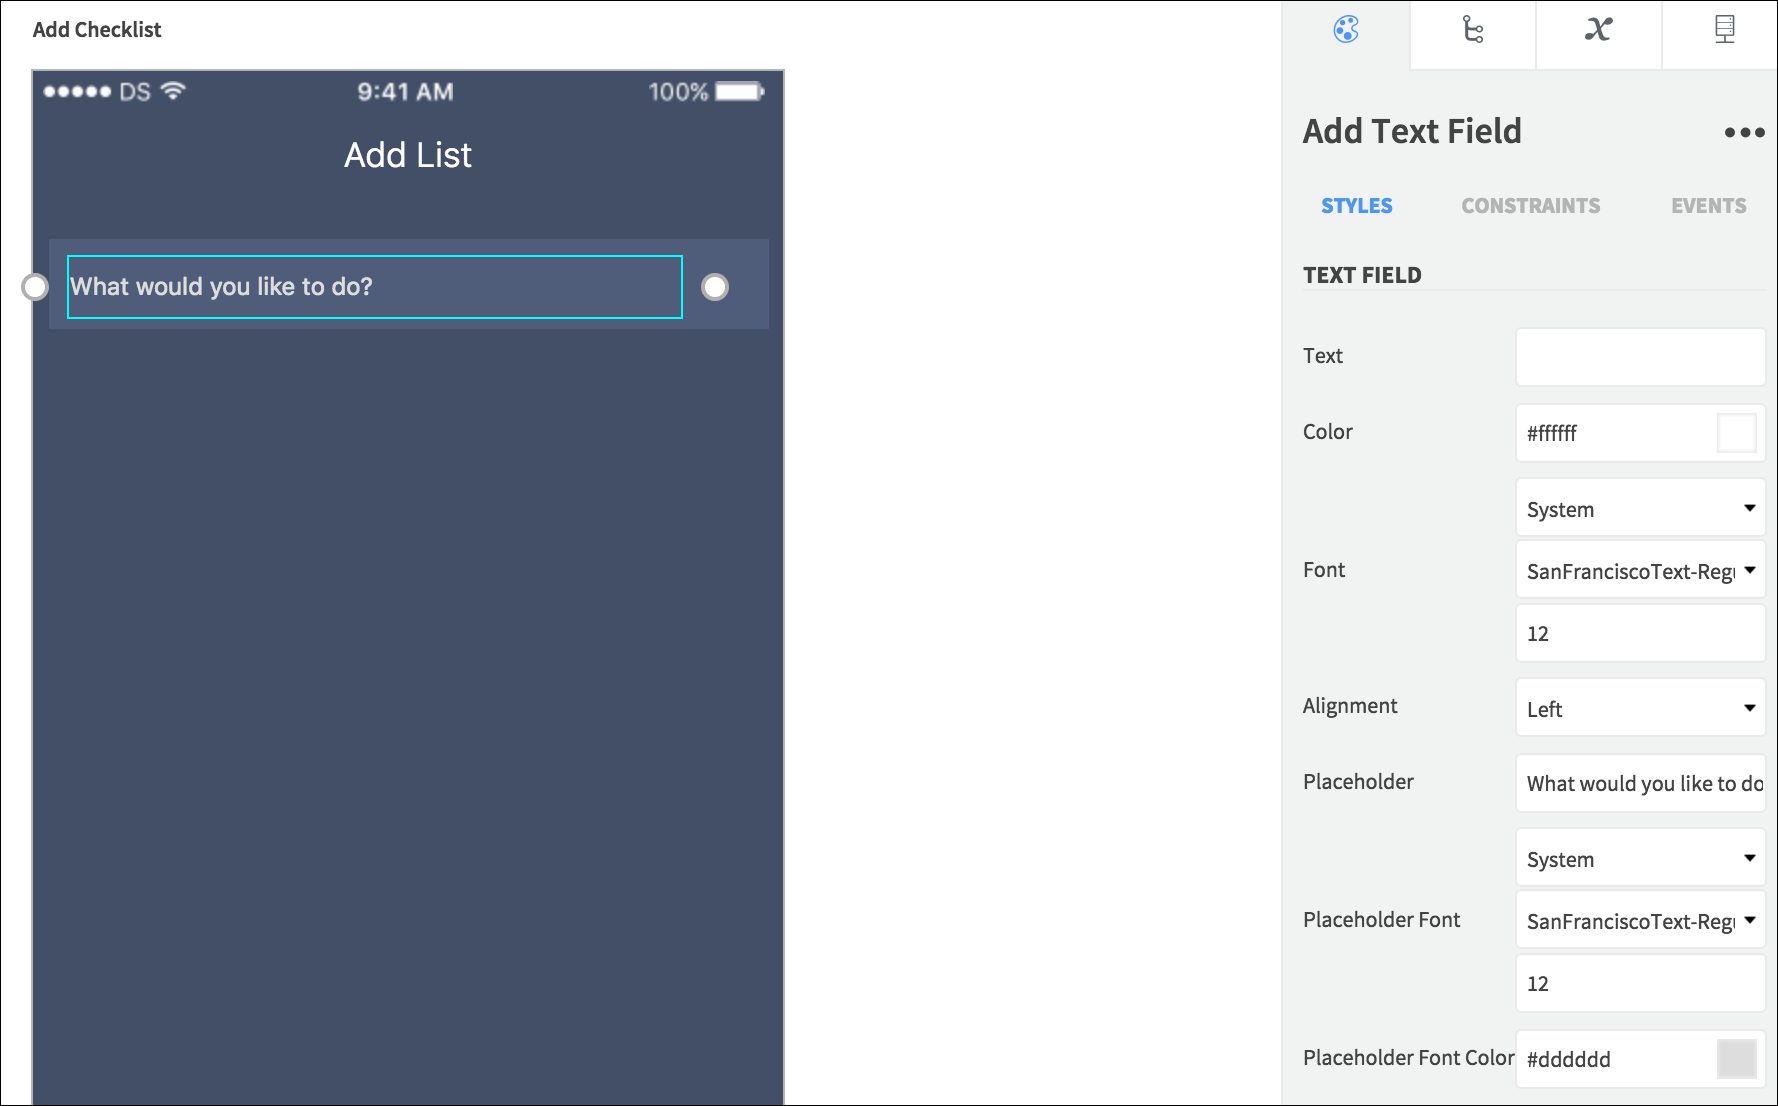
Add List Elements
Add a View Element, renaming it “Add View” and positioning it to occupy a small section at the top of the page. Set its Background Color to distinguish it from the page color.
Inside the View, add a Text Field on the left, renaming it “Add Text Field”. Set its background to be transparent and stretch it to occupy most of the width of the View. Set the Placeholder / Hint text to “What would you like to do?”.
To the right of the Text Field, add a Button (iOS) / Image Button (Android) and rename it “Add Button”. Set the Image Asset to the plus image you uploaded earlier. Set it to have square proportions and style the background and tint colors however you prefer.
Your page should now look something like this:

Add List Request
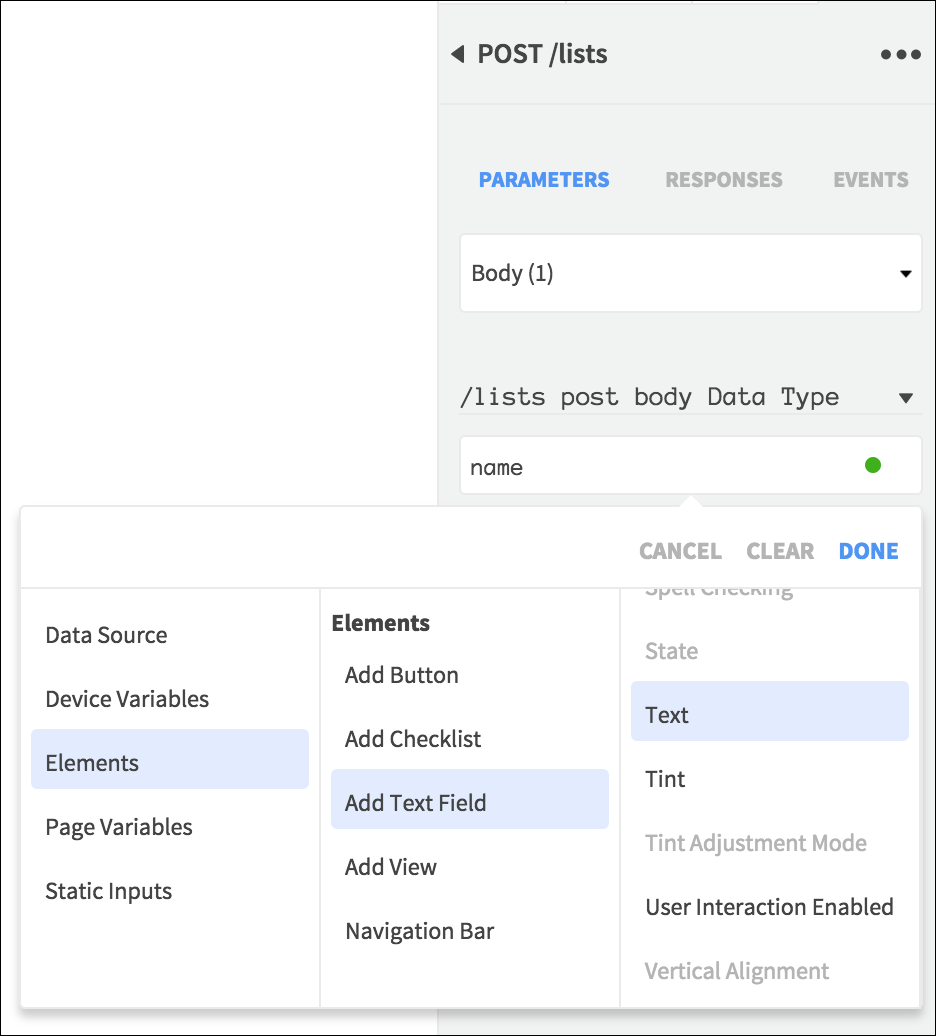
In the API tab, add the POST /lists endpoint and click to open the request. Select Parameters > Body and bind the name field to the Text Field.
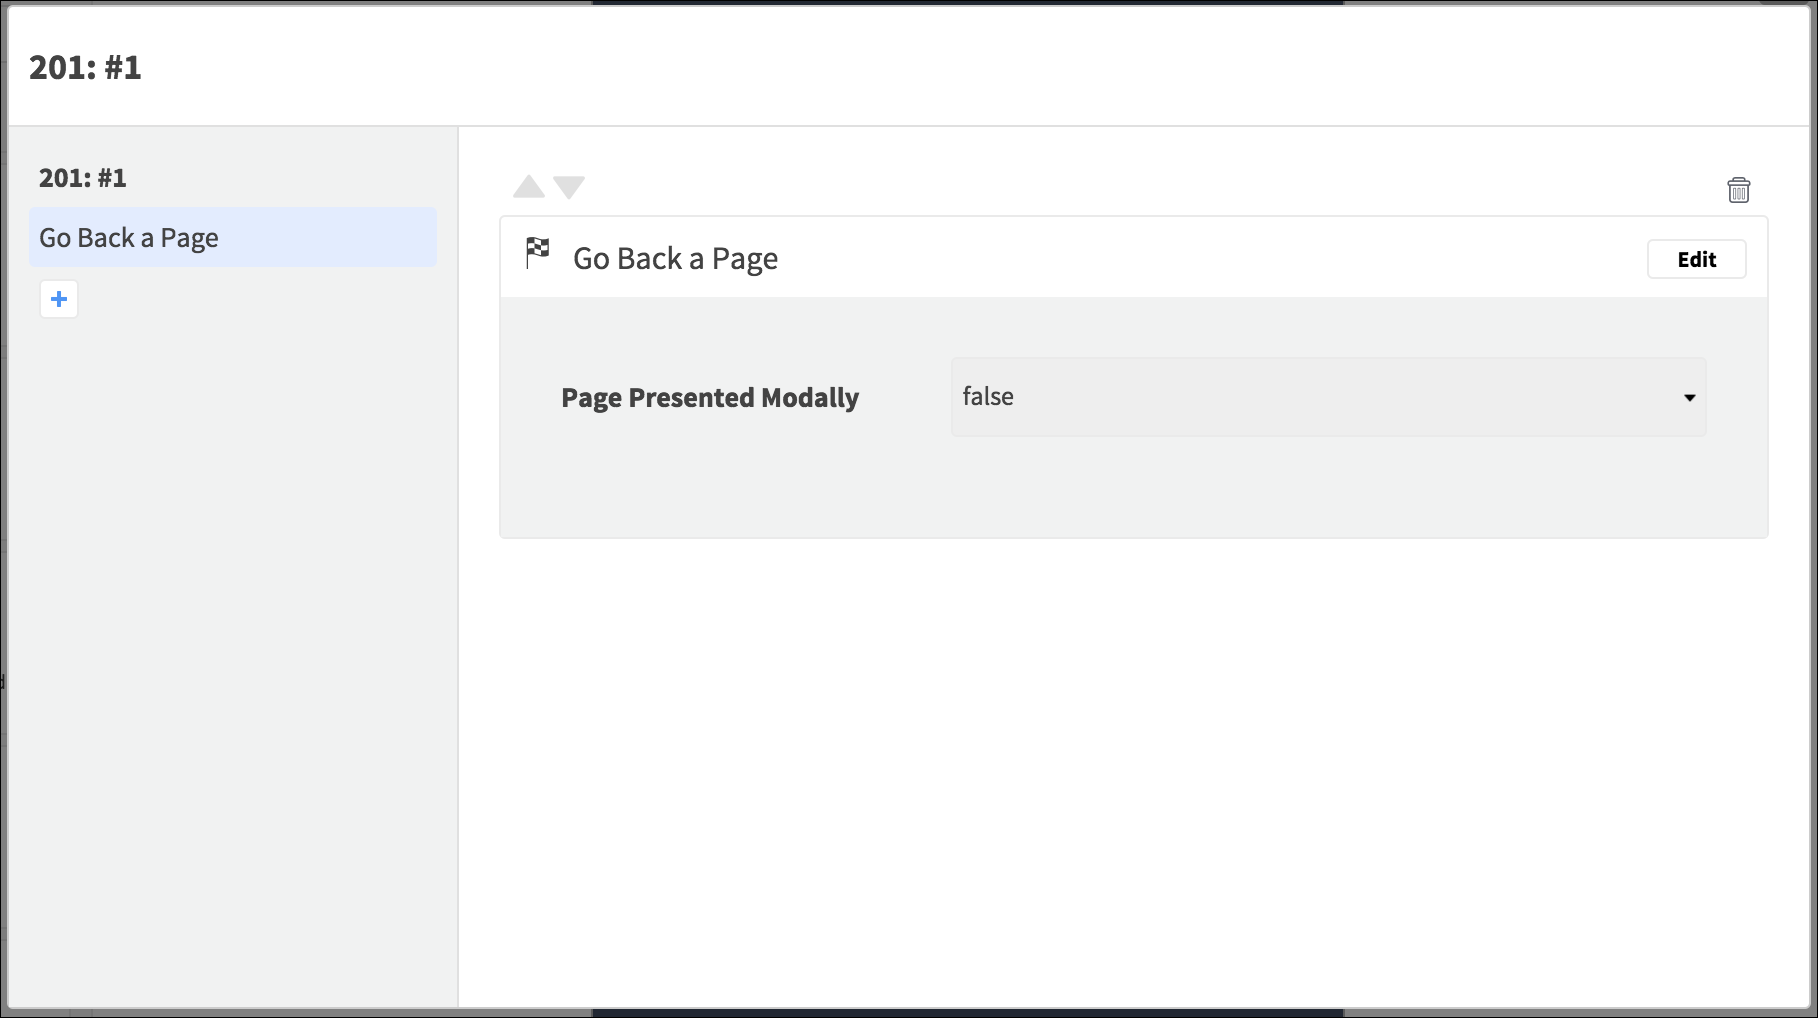
When a list is added, the app will navigate back to the previous page – in the API request, select Events. Click Add for the 201 Event, which will fire when a list is successfully added. Add a Go Back a Page Action, selecting False on iOS.
The request should run when the user taps the Add Button, so select it on the Canvas and open Properties > Events, choosing the Tapped Event. Before running the request, the app will check that it has valid user input, so add an If Else Action. On iOS, select the Text Field Element Text > Is Empty property, the equals operator, and a static boolean value of True. On Android, select the Text Field Element Text property, the equals operator, and a static empty string value.

Save the Action, and in the True Event, add a Show Alert (iOS) / Show Snackbar (Android) Action. Set the Title / Text to “Invalid Entry”. On iOS set the Message to “Please enter valid text!”, the Style to Alert, and add one button: “OK”. On Android set the Button Text to “OK” and choose Indefinite Duration. Save the Action.

In the False Event for the If Else, add a Run API Request Action, selecting the POST request, and saving the Action. Add another Action to the False Event, choosing Set Value, and setting the Text Field Element Text property to a static input empty string value – Save the Action.

Test the app and try adding a list, then deleting it. Next time you will allow the user to add tasks to their lists.