In this tutorial series you are building a location-aware photo saving app. Last time you presented the user’s existing photo collection, and displayed the location for each photo on a map. This time you will add the ability for the user to upload new photos to their collection.
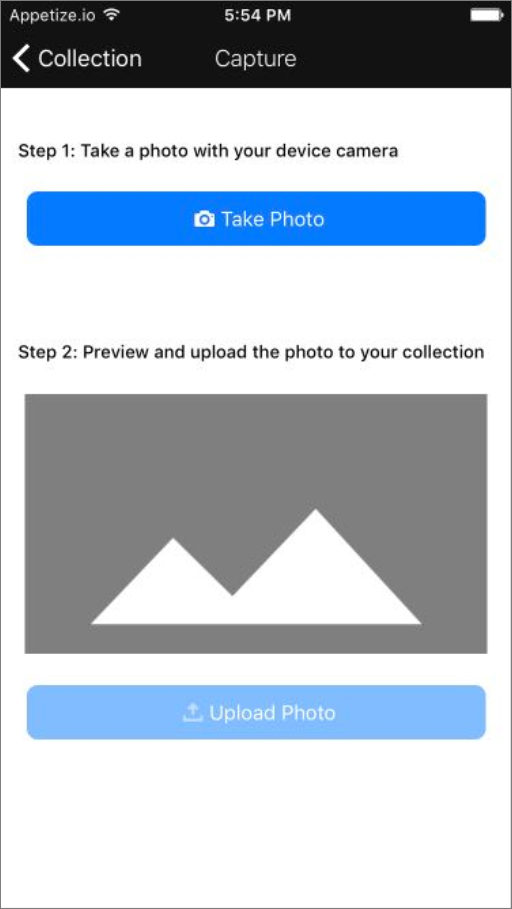
The Capture page on iOS.
Add the Capture Page
The final page in the app is going to allow the user to take a photo using their device camera, and upload the photo to their collection along with their current location. This will require permission to access the camera and the user location, which the app will prompt the user to provide.
Add a new page to the app, choosing the Nav Bar / App Bar config and naming it “Capture”.
Back in the Collection page, add navigation to the new page using the add image asset you downloaded earlier:
![]()
- On iOS, select the page (in the Element Tree) and open Properties. Check Right Navigation Bar Item – Enabled and upload the add asset for the Image. In Events, add a Go To Page Action to the Right Bar Item Tapped Event, selecting the Capture page and a Push transition.
- On Android, select the App Bar and in Properties select Icon Menu Item Type in the Actions Icons section. Add a menu item and upload the add asset, setting the text to “Add”. In Events, add a Go To Page Action to the Item Add Tapped Event, selecting the Capture page and a Push transition.
Open the new Capture page. Set the navigation Element title text to “Capture” and choose any other styling properties you like. Add back navigation using Back Button Enabled on iOS and the Nav Icon plus Go Back a Page Action on Android as you did on the Photo page.
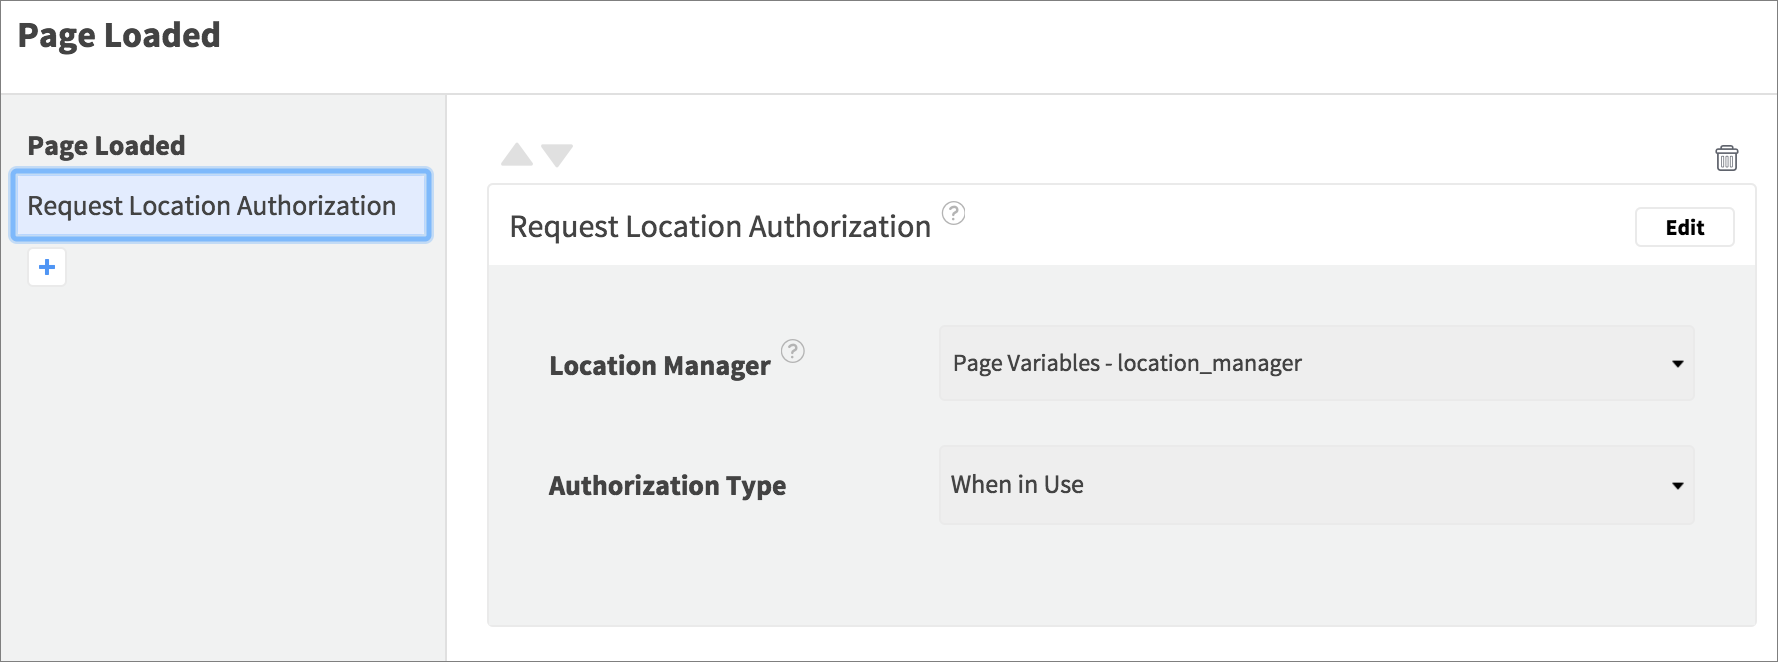
Request Location Access
This page is going to use the user location, and on iOS your app needs to request permission to access it (you don’t need to do this on Android):
- In Page Variables on the right, create a new variable, naming it
location_manager with
Core Location - CLLocationManager type (the variable is not required during inbound navigation).

- Select the page and open its Loaded Event. Add a Request Location Authorization Action, selecting the Location Manager, and When in Use Authorization Type.
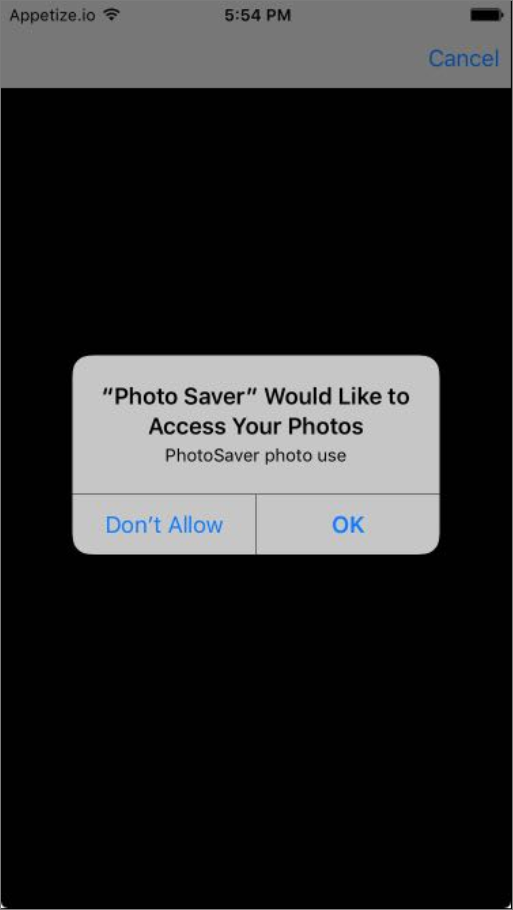
When this page loads on iOS, it will prompt the user to grant location permission:

Add Capture Elements
The page is going to include a button to launch the camera and capture the photo taken, a preview of the photo, and a button to upload it to the user collection with the location.
Add the following Elements to the page, starting near the top and adding each one below the previous one:
| Element | Name | Properties |
| Text View | “Intro Text View” | Displaying “Step 1: Take a photo with your device camera”. |
| Button | “Photo Capture Button” | Displaying “Take Photo” as the text, and/or the camera asset image. |
| Text View | “Post Info Text View” | Displaying “Step 2: Preview and upload the photo to your collection”. |
| Image | “Photo Image” | Displaying the panorama image asset.  |
| Button | “Upload Button” | Displaying the upload image asset and/or “Upload Photo” as the text. |
Your page should look something like this:

Capture Photo and Location
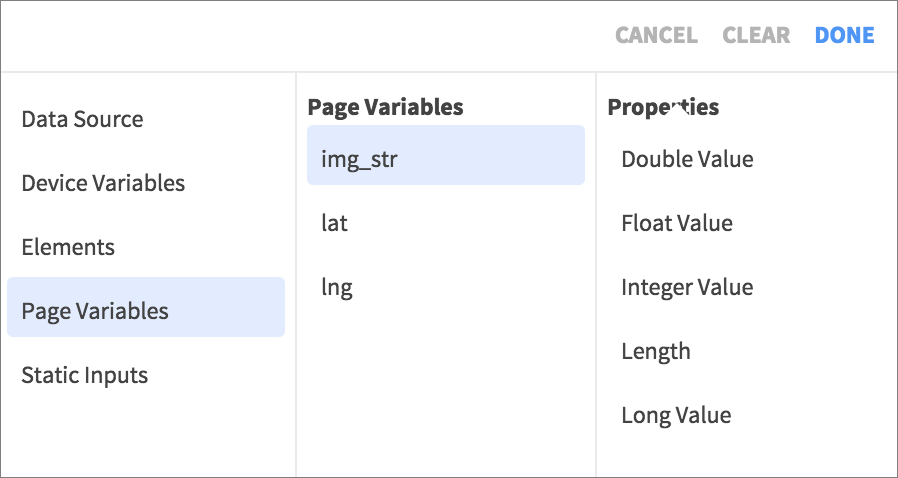
When the user takes a photo, the app will import it for display in the app, and encode it as a string to send to the API. At the same time it will request the user’s location. All of this data will be sent as parameters to a request – the app will use variables to store the information. In Page Variables on the right, add the following three new variables (none of them are required during inbound navigation):
- img_str – Swift/Java String
- lat – Swift/Java Float
- lng – Swift/Java Float

Select the Photo Capture Button and open its Tapped Event. At this point you would normally launch the device camera app using the Select Image from Photos (iOS) / Take a Photo (Android) Action, however the camera does not work on the web simulator, so it’s a good idea to use an alternative initially so that you can run the app in the browser, then switch to the camera Action when you’re ready to build the app to run on a mobile device. For that reason, add the Select Image from Photos Action on iOS with the Photo Library Image Source selected (instead of Camera), and on Android use the Pick an Image Action.
The user will navigate away from the app, and the device will launch their photo gallery app, where they will be prompted to grant permission and will be able to select an image – at that point they will return to the app.
In the nested Image Chosen / Picked Event, you can access the photo selected by the user. Initially you will display the photo in the page, so add a Set Value Action, selecting the Image Element (Asset or Image property) and the chosen image from the Event Data.

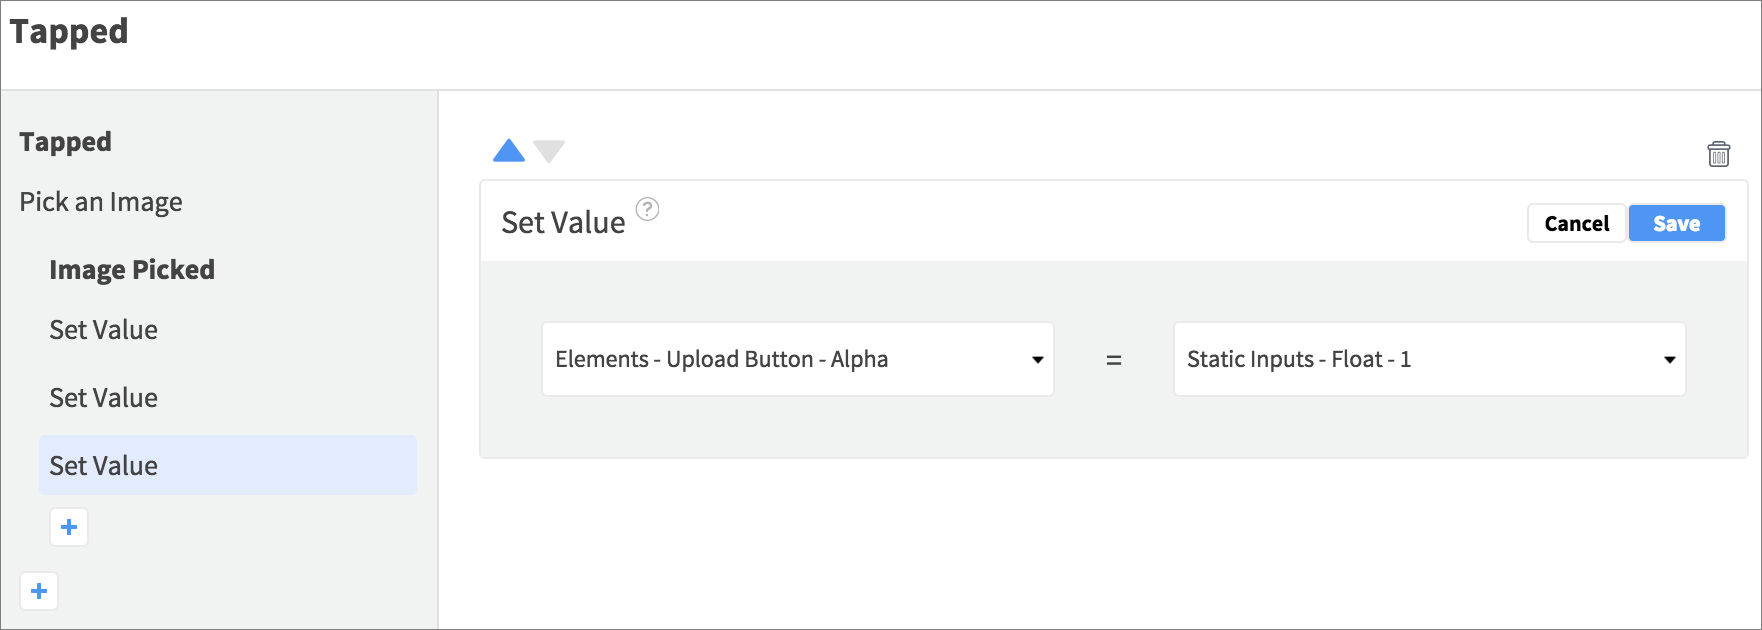
Now that you have the image, you can enable the Upload Button – add another Set Value to the same Event, selecting the Upload Button Enabled property and setting a Static Input – Boolean value of true.

Since the alpha was reduced initially, add another Set Value to display the Upload Button background at full opacity.
Still in the nested Image Chosen / Picked Event, add a Request Location Update Action, choosing the Location Manager variable on iOS, and an accuracy level on Android.
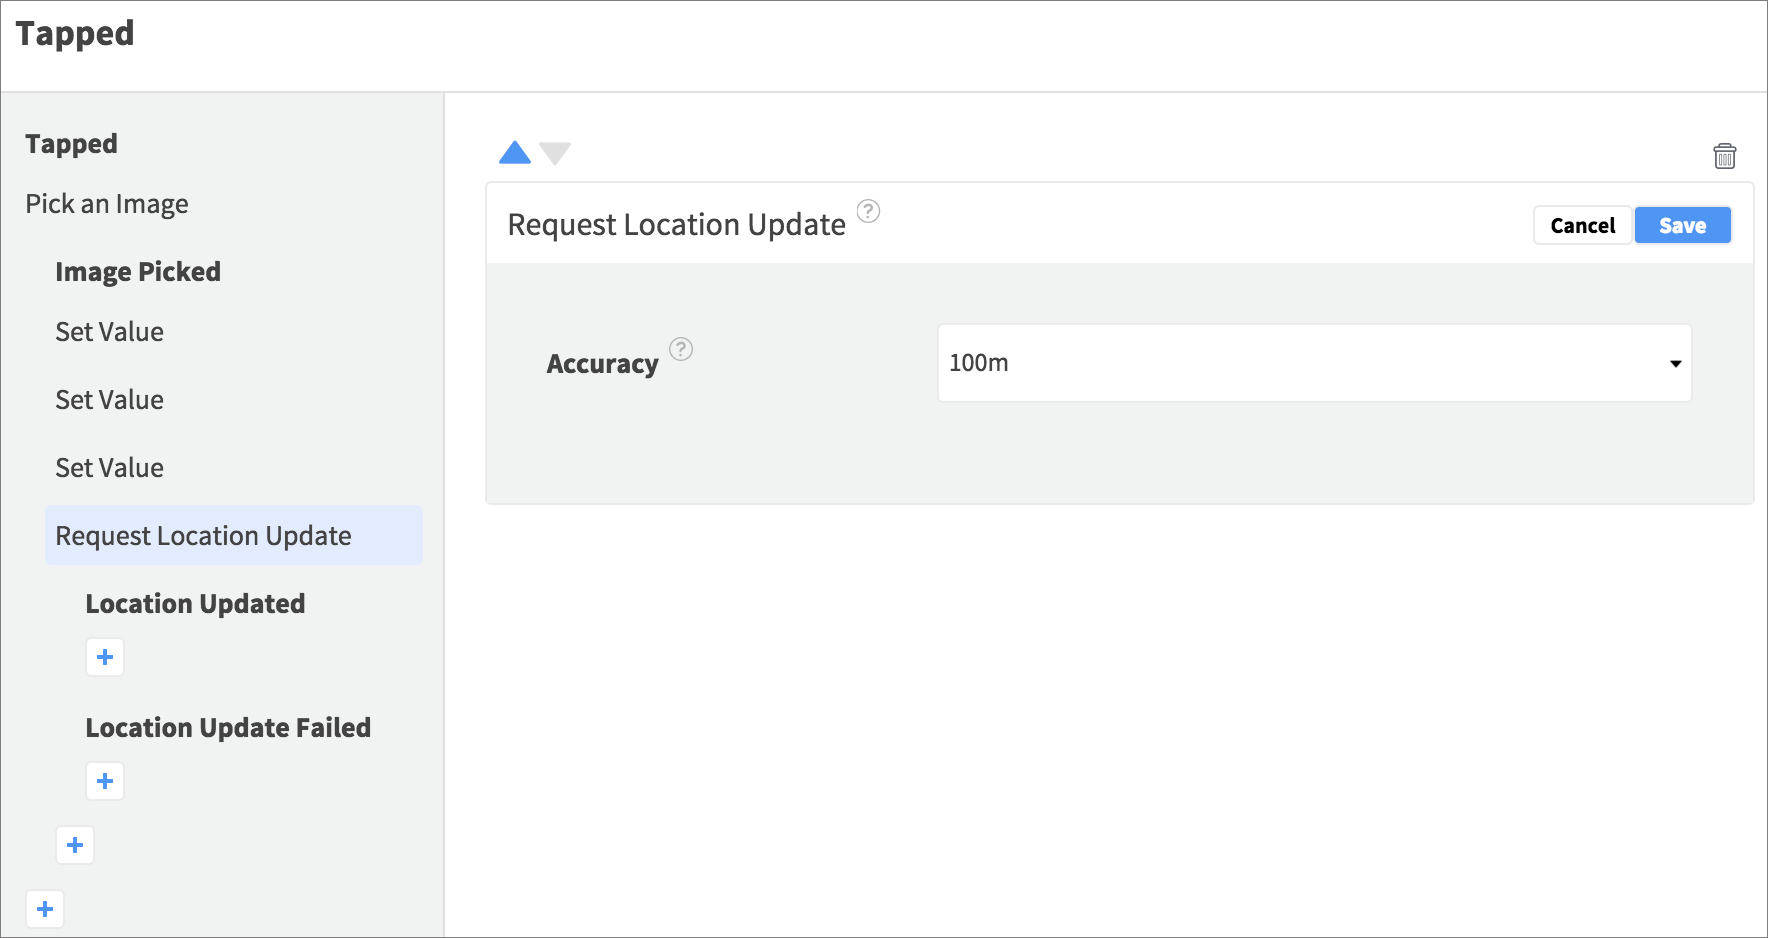
Location functionality cannot be tested on the simulator on Android. On iOS the simulator will fake the location so the app will function, but the location will not be accurate – on Android the simulator won’t fake the location, but new photos will be saved at the default location in the Bubble backend if no location data is provided.
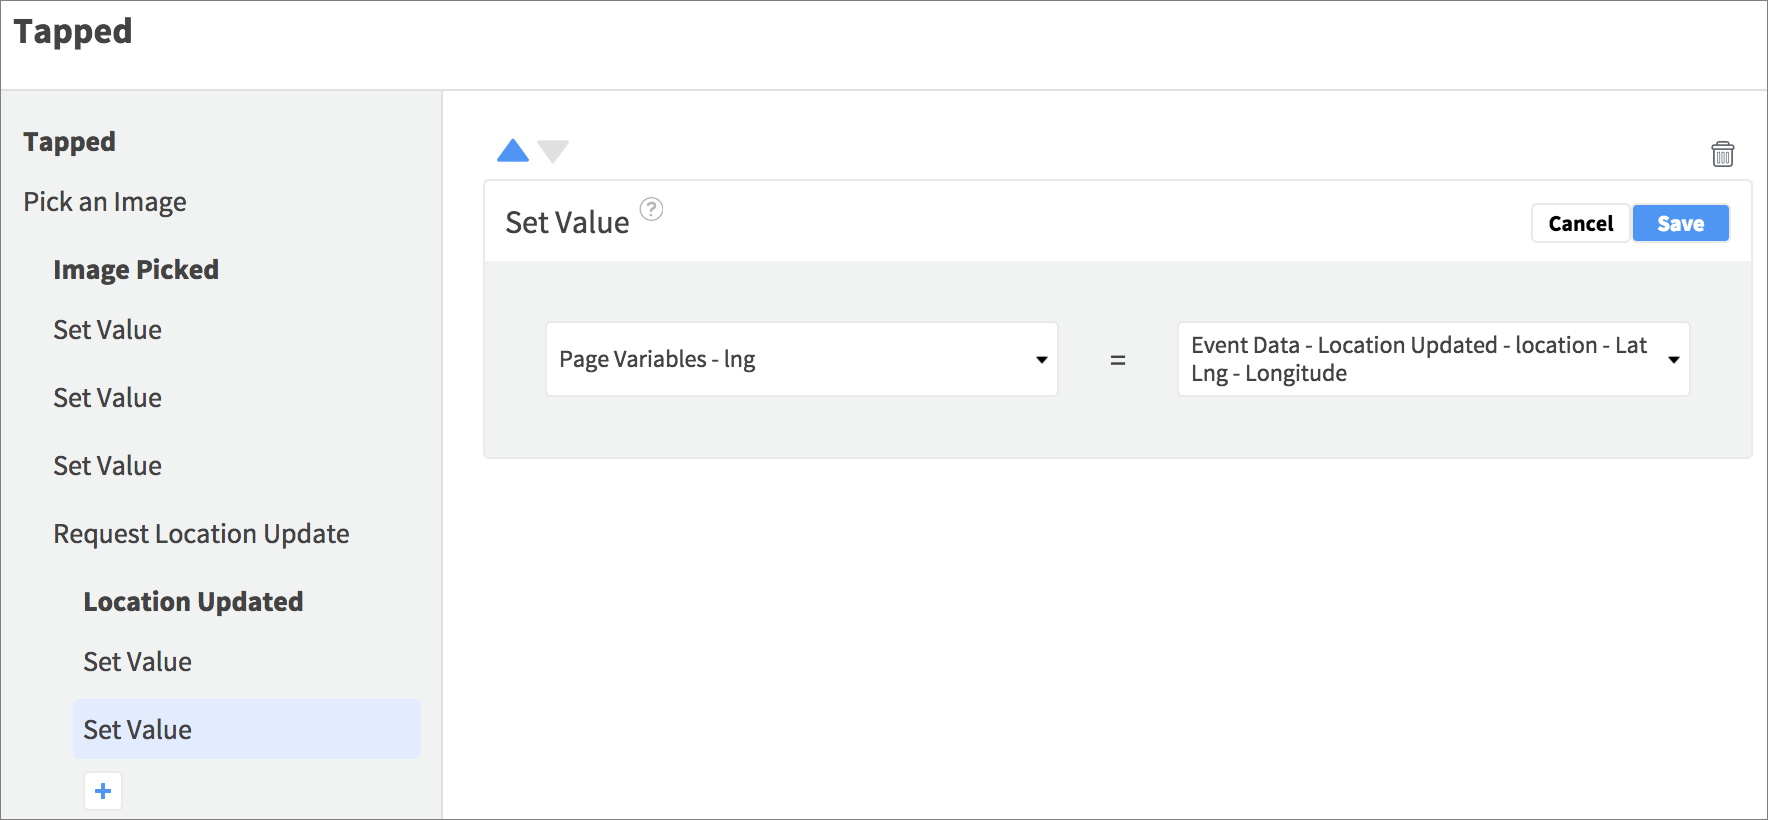
In the nested Location Updated Event, add two Set Value Actions, to update the lat and lng Page Variables with the latitude and longitude from the Event Data ( Coordinate - Latitude / Longitude on iOS, Lat Lng - Latitude / Longitude on Android).
Your Photo Capture Button functionality is now complete.
Add to the User Collection
The app is going to use an API request to post the new photo – in the API tab, add the POST /wf/post-picture endpoint to the page and open the request.
In the Parameters, choose Body from the drop-down list, and select the Page Variables for lat and lng.

For the contents field, select the img_str Page Variable – soon you will encode the imported image and save it in this variable.
For the filename field, simply enter a Static Input String of “image.jpg” so that the API can detect the image format.

If you’re attempting to recreate this functionality using your own Bubble backend you will need to carry out a couple of manual edits to the API:
- The API specification JSON for your image data type will need to be extended to match the one you’ll see in the Dropsource version.
- When you post a new image to your Bubble backend, you will need to carry out an additional processing step to add “https:” to its URL before you can display that image in Dropsource:

Respond to the Request
If the request returns a successful response, the app will reinstate the page and navigate to the Collection page. In the request Events, select the 200 Event. Add three Set Value Actions:
- Set the Photo Image Element – Image / Asset property back to the panorama image you set it to initially.

- Set the Upload Button – Enabled property to false.

- Set the Upload Button – Alpha property back to 0.5.

After the Set Value Actions, add a Go To Page Action, navigating to the Collection page, with a push transition.

Make the Request
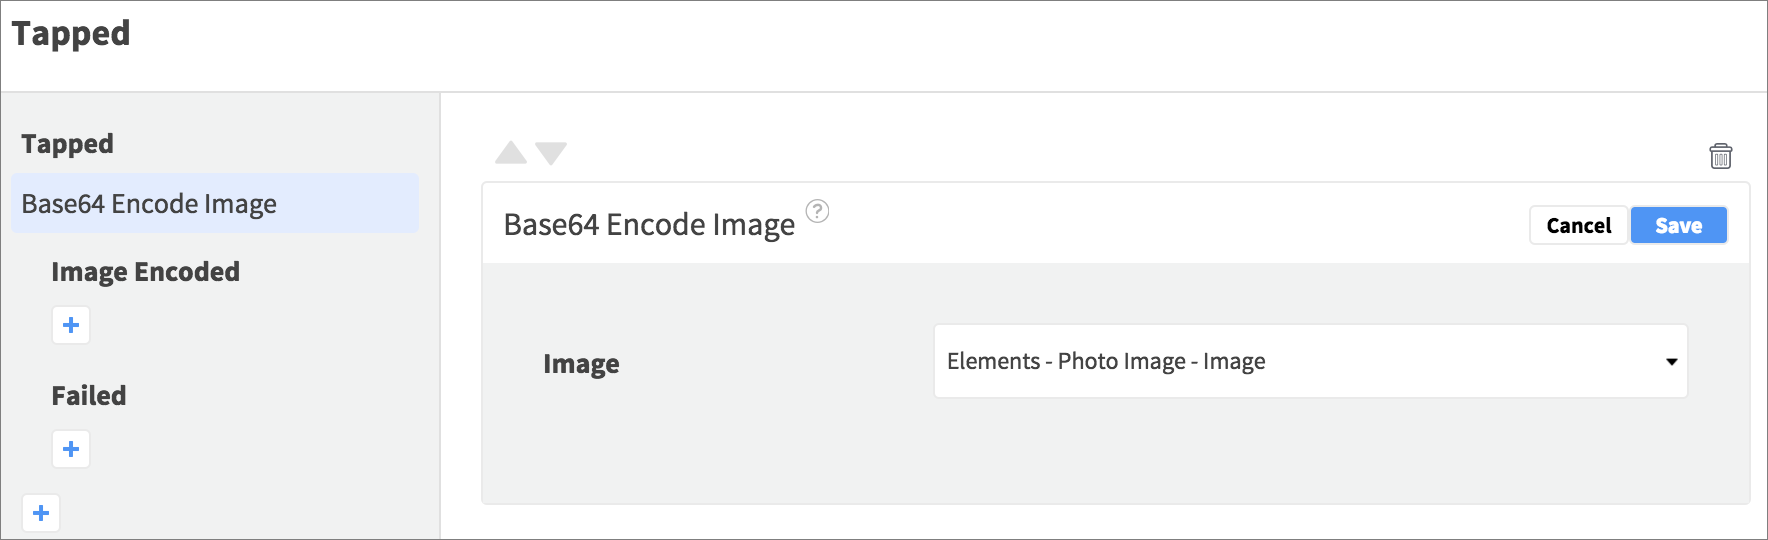
Select the Upload Button and open its Tapped Event. The API is expecting the image as an encoded string, so add a Base64 Encode Image Action, selecting the Image Element – Image / Asset.
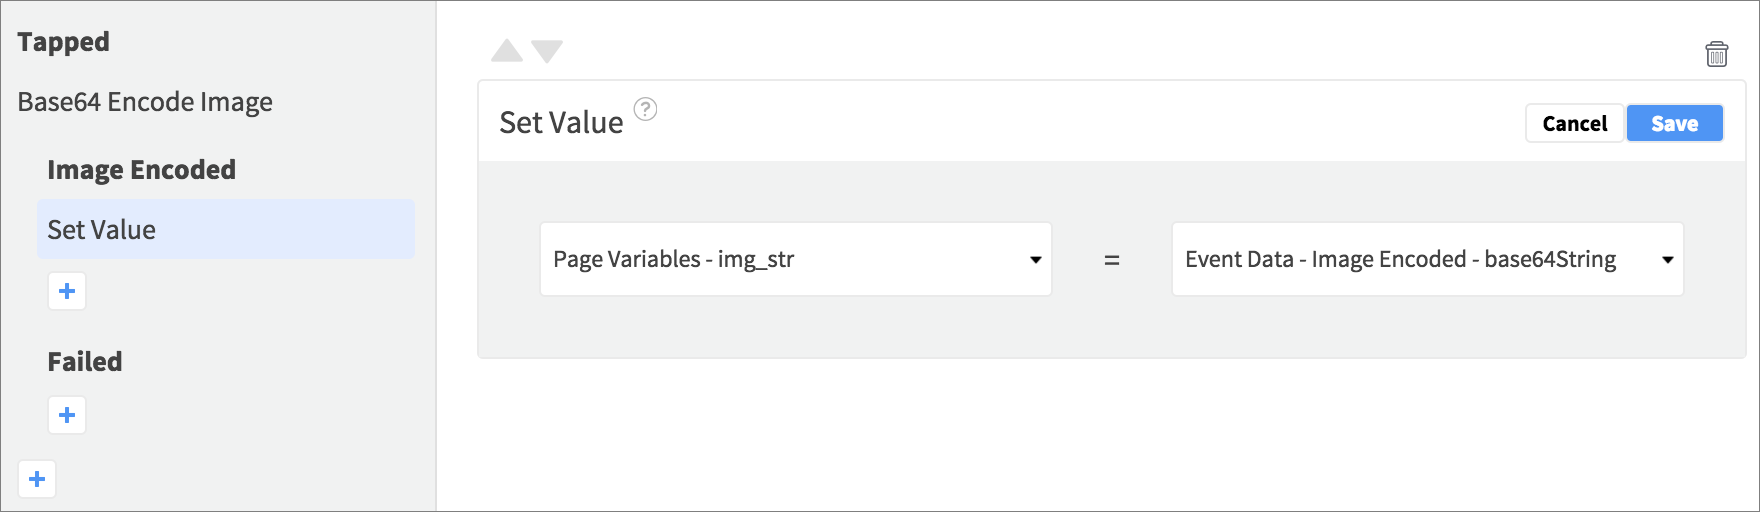
In the nested Image Encoded Event, add a Set Value Action, setting the img_str Page Variable to the encoded string, via the Event Data.
After Set Value, now that the variable being passed as parameter contains the encoded image, add a Run API Request Action, selecting the POST request.

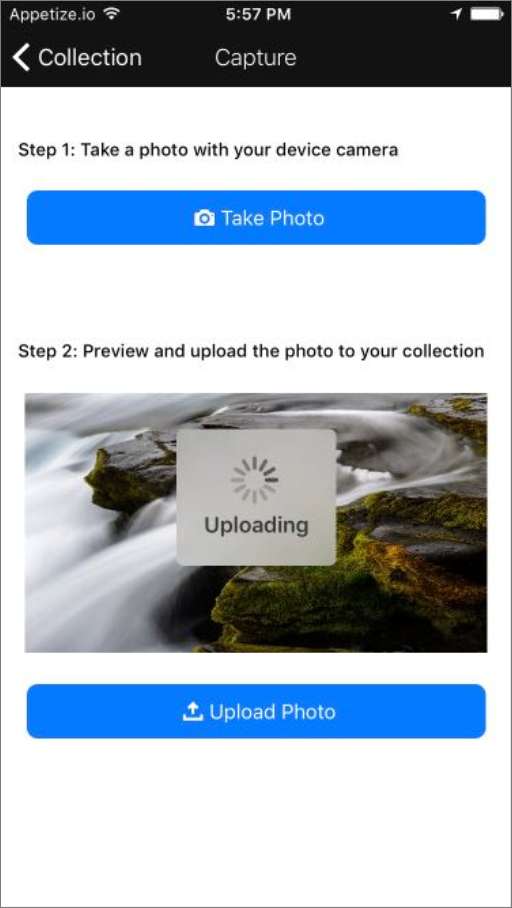
For an extra UX addition, add a progress Element (Android) / progress overlay Action (iOS), and hide it in the request 200 Event before navigating to the Collection page.
Test your App
Your app functionality is now complete! Hit the Test button again to create a new build and try it out in the simulator. You should be able to add photos and view your collection along with location data. Note that the simulator / API will fake location when real location data is not available, so your photos might appear at the same location – as you can see in this video of the app running in the simulator:
To test on a real device, change the Capture Button Action to use the device camera (Select Image from Photos with Camera selected on iOS / Take a Photo on Android) – create a new build with Mobile Device selected in your Test Configurations and follow the instructions to install it on your phone! Here’s a snippet of the app running on an Android device:
If you’d like to try building an app with your own backend data but don’t have an API set up yet, check out the guide to using Bubble (which the photo saver app uses) to create an API and connect to it in a simple Dropsource app.