You can add user chat to your app with Intercom. This allows you to provide support and send messages to your app users. The Intercom controls will appear over your app pages, allowing the user to send messages and view their conversations. To implement Intercom chat in your app:
-
Create an Intercom app and navigate to Settings.

Choose App Settings > Installation and select iOS or Android.

Copy the App ID and API Key(s) (the key values are different for each platform).
- In the Dropsource editor for your app, paste the ID and Key into Settings > Intercom.
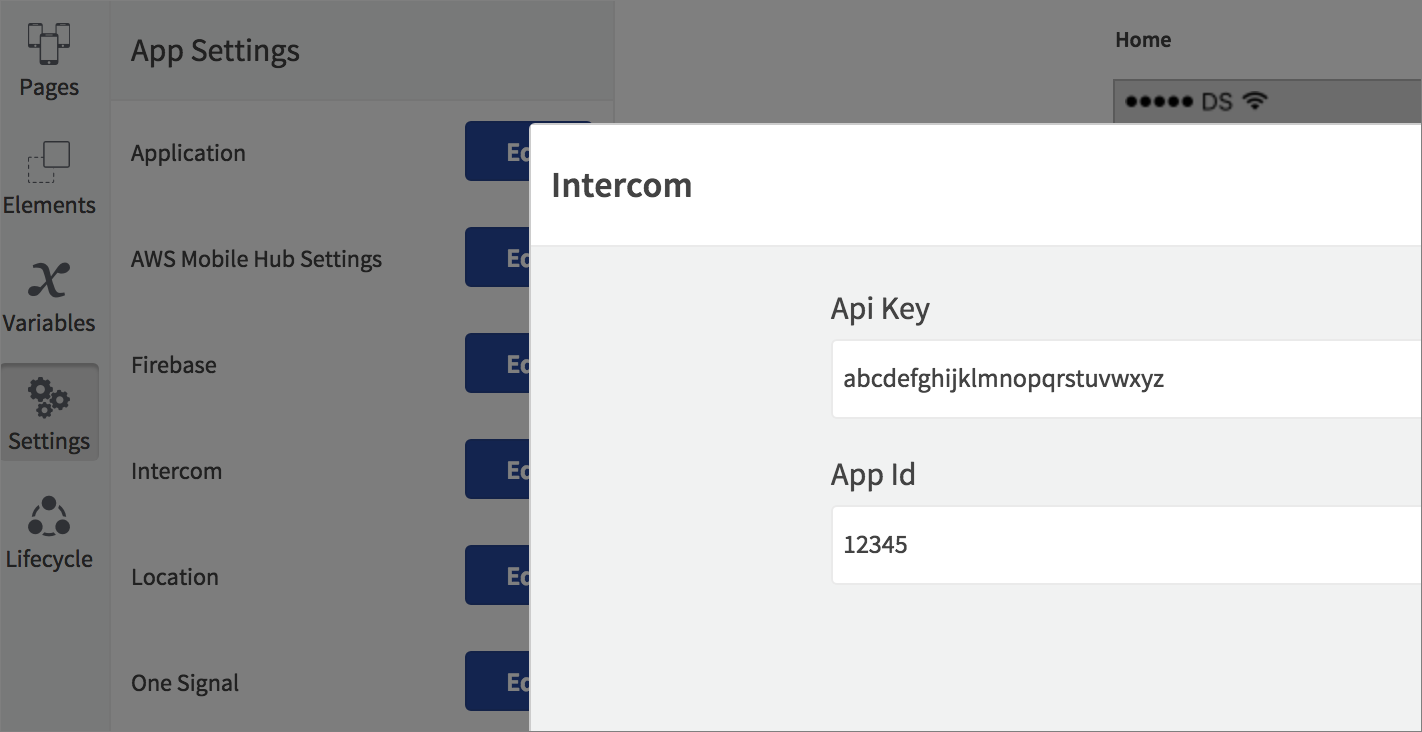
- In the Dropsource editor for your app, paste the ID and Key into Settings > Intercom.
-
Register the user in your app using an Action – use Register Intercom User by ID if you have the ID (for example from an API request), or Register Unidentified Intercom User if you want to chat with an unknown user. Add the Action to an Event that will execute before you plan to open the user chat.

-
Provide access to the user conversations either with the Show Intercom Messenger Action to open the conversations straight away, or Set Intercom Bubble Visibility to show the Intercom bubble and allow the user to open their conversations whenever they want by tapping it.

When the user’s conversations are visible, they will be able to read messages sent from you through Intercom, and send messages in a control that appears on top of your Dropsource app page. They will also be able to close the conversations to return to the app at any time.
You can also log events via Intercom, using the dedicated Actions to create and submit events, adding any meta data you require to track user behavior in your app.