APIs using OAuth2 Password flow require client apps to send a token value in the header of requests, preceded by Authorization: Bearer. OAuth2 Password often involves sending user login credentials to an endpoint to request access, and retrieving a token value to authenticate further requests. If your app is using an API secured with OAuth2 Password, you will need to specify that in your Swagger/OpenAPI specification and configure it in the Dropsource editor as follows.
If you aren’t using OAuth2 Password, check out the tutorials for Basic Auth and API Key authentication.
-
Indicate OAuth2 Password flow in your Swagger/OpenAPI specification securityDefinitions at the root level of the document, by including an entry with a name of your choice, a type value of oauth2, and a flow value of password:
1234567891011"securityDefinitions": {"oauth2Pass": {"type": "oauth2","flow": "password","tokenUrl": "","scopes":{"read": "","write": ""}}}Although the tokenUrl field is required, you do not need to supply a valid URL as Dropsource will not use it.
Apply OAuth2 Password by specifying the name you used in the securityDefinitions ( oauth2Pass in the example code) inside the sections for individual paths in your spec, or to the entire API by adding at the root level:
12345"security": [{"oauth2Pass": []}] -
Upload your specification file into Dropsource by opening the API tab on the right of the editor and clicking the plus
 button.
Click Choose and upload your file – you will see an indicator when it has been imported into your project.

Close the API modal – you will see your new API in the API tab.
-
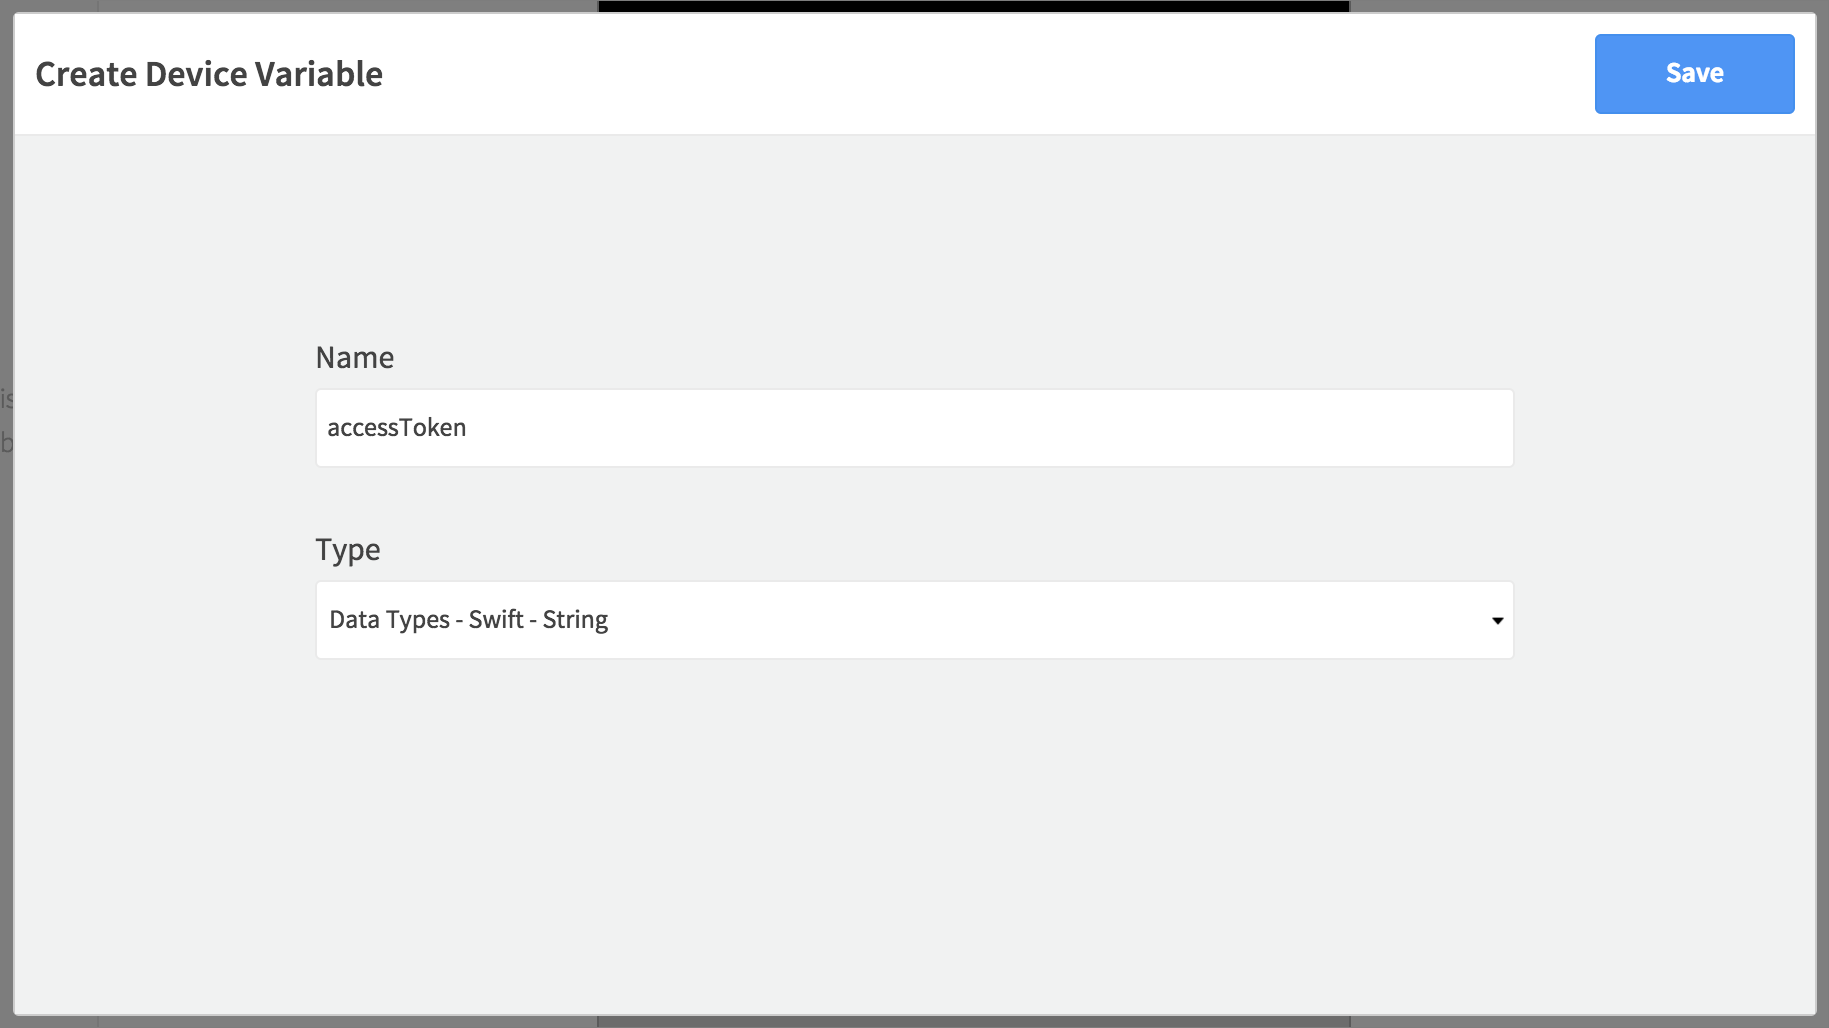
You will store the token in a Device Variable so that it is accessible throughout the project. In Variables on the left of the editor, create a Device Variable – with a name of your choice and Swift/Java String type.
-
Assign a value to the token variable – the detail here will depend on how auth works for your API. For example, if your API requires a request that sends user credentials as parameters, you can add a login page to your app, with two Text Fields (for username / password) and a Button – with the login request in the page, you can then bind the parameters to the Text Field values. In the request Events, use a Set Value Action to assign the received token to the Device Variable you created.
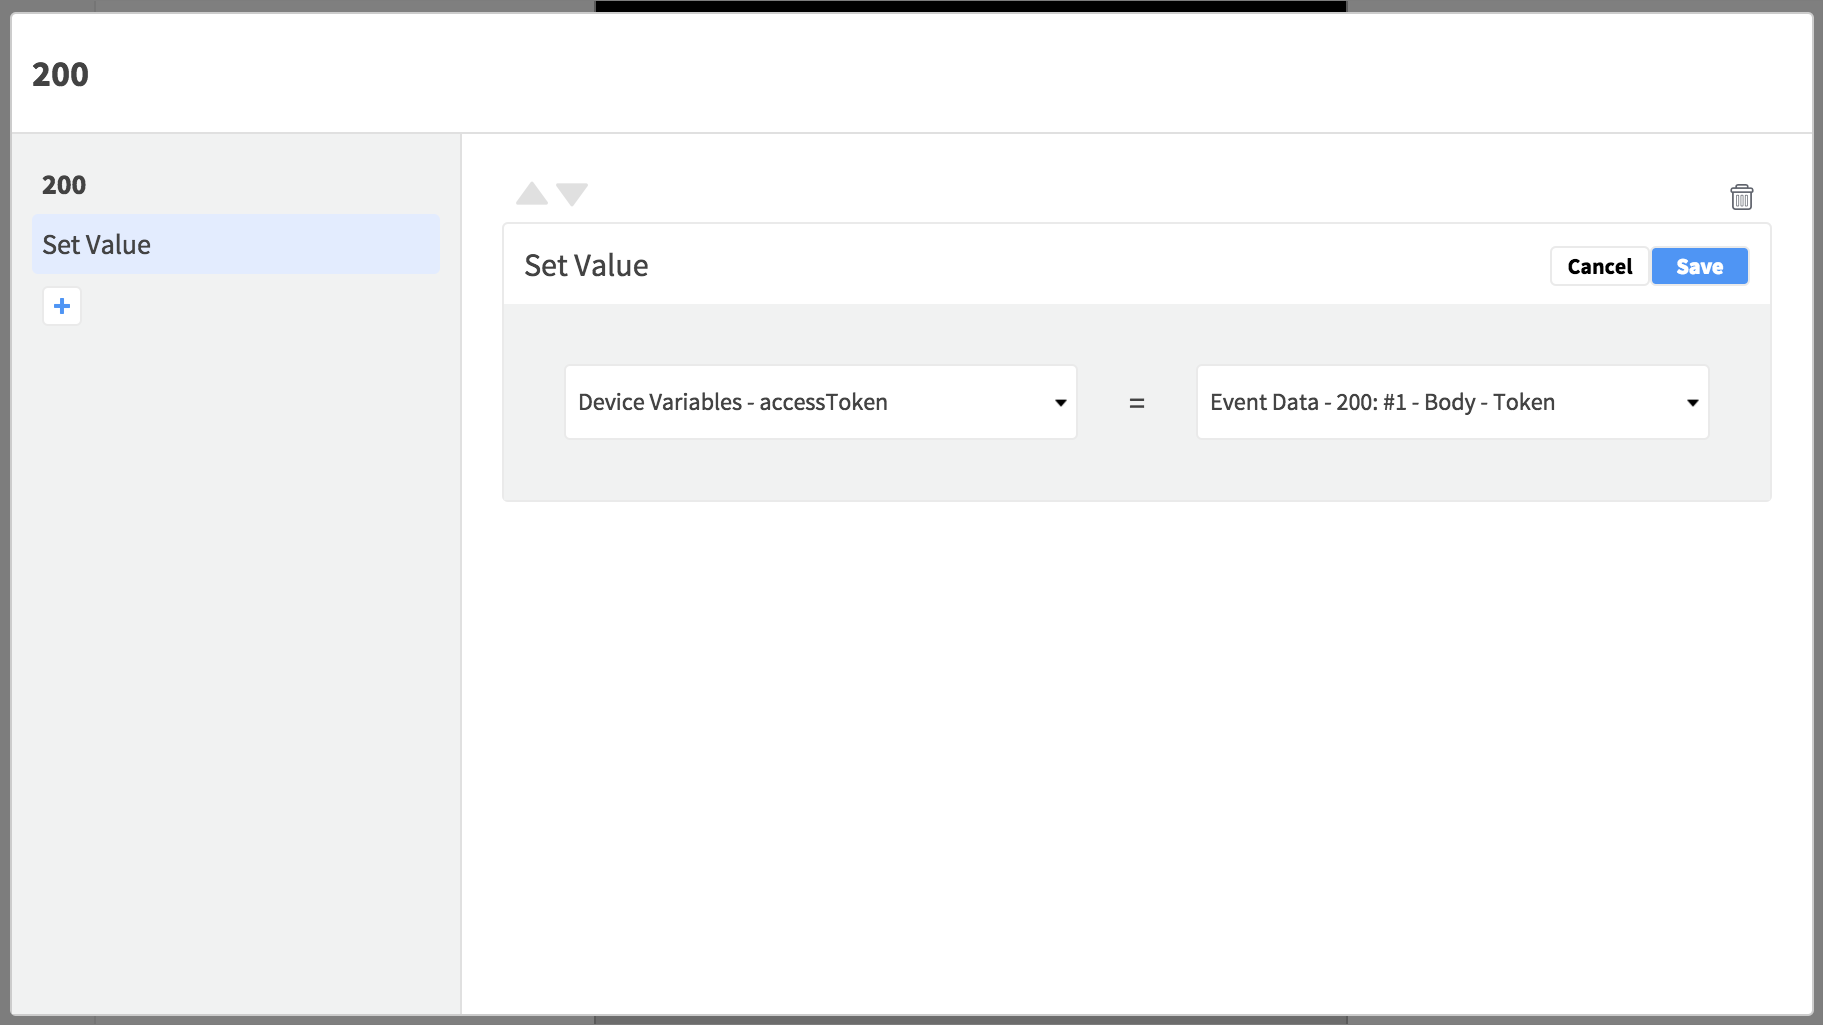
Your API may require tokens to be refreshed periodically. In this case your requests will typically return an error status code such as 401, in which case you can add an Action to the status code Event to run an API request to retrieve a refresh token, then in the success Event for that request (typically 200: OK), assign the new token value to your Device Variable with another Set Value.
-
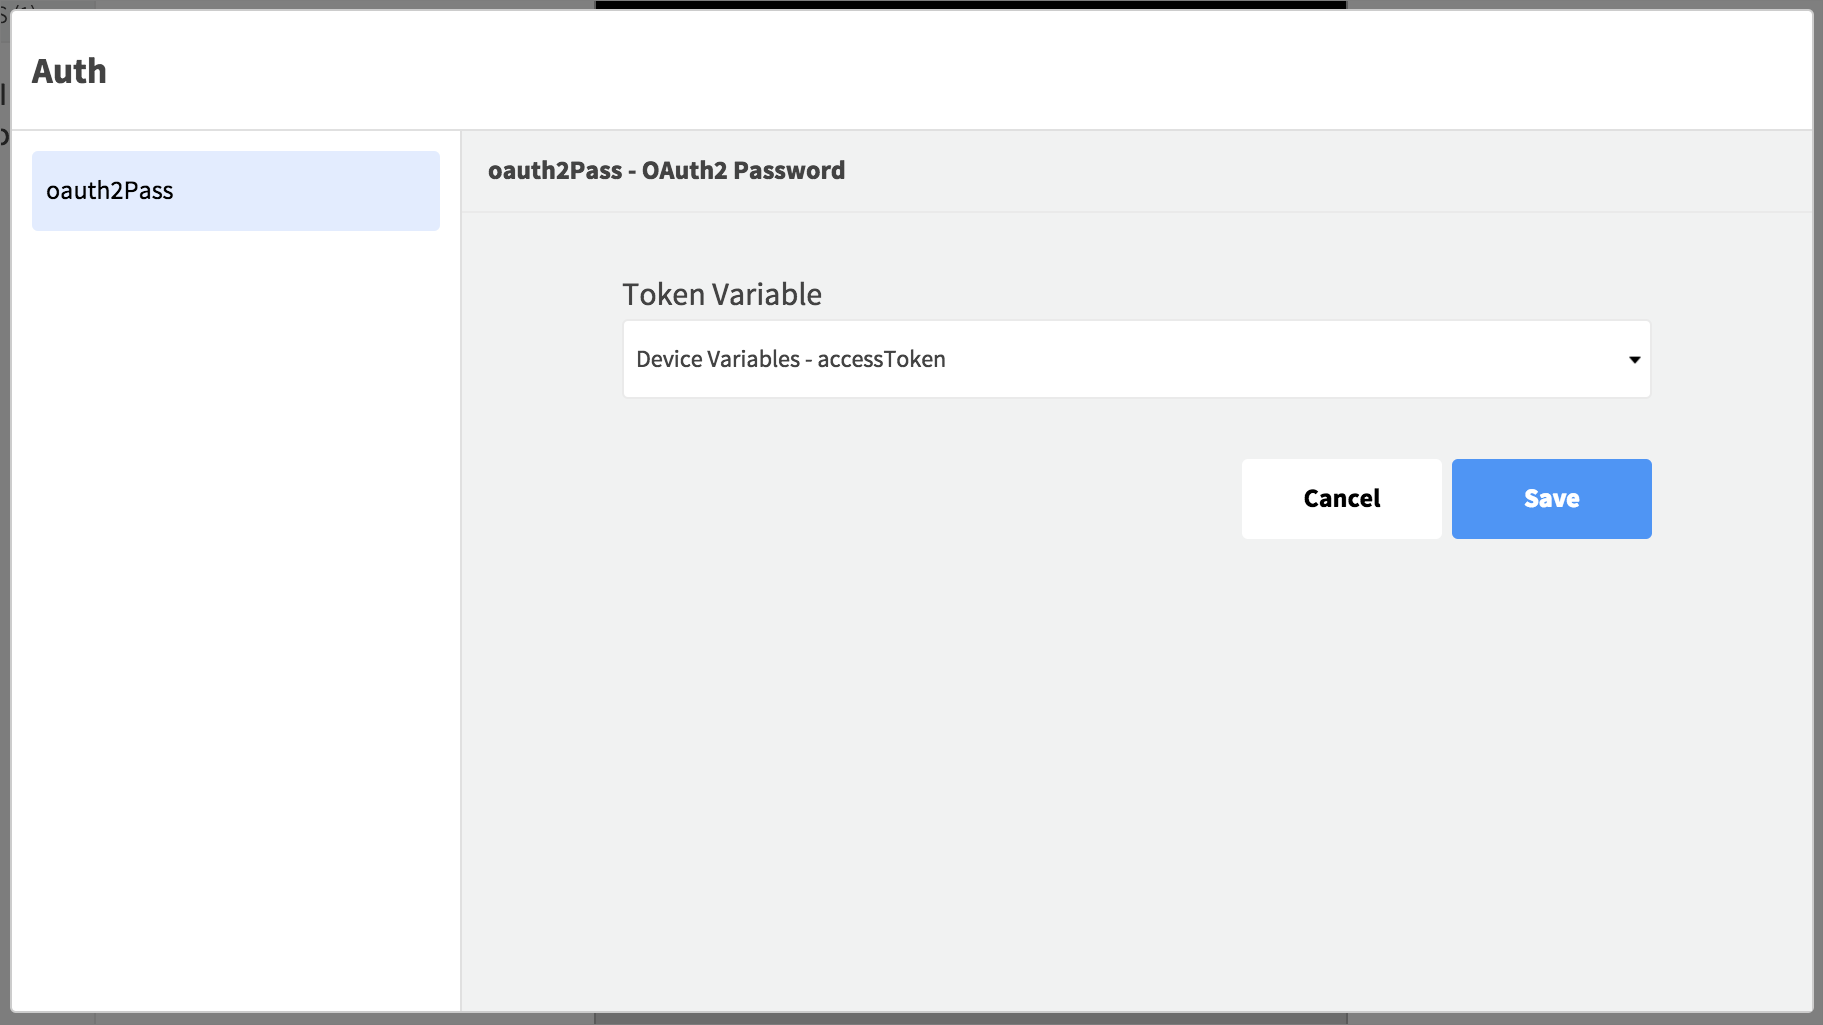
In the API tab, configure security for the API you added by clicking Set Authentication above the list of endpoints.

-
Select the Device Variable for the token field.
Once your auth workflow and configurations are in place you can go ahead and add requests to the pages in your app, using Run API Request Actions to execute them. As long as your requests run once the Device Variable is set with a valid token they should be authenticated, and ready to connect the user to data.