In this tutorial series you are rebuilding the Places example app in Dropsource. Last time you added a second page to show place details, this time you will add a third page to the app, to display comments on the selected place.

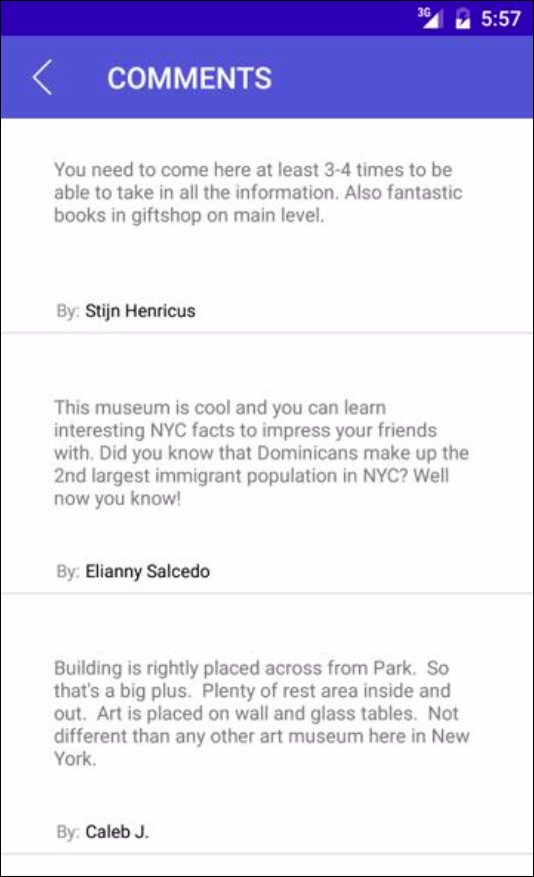
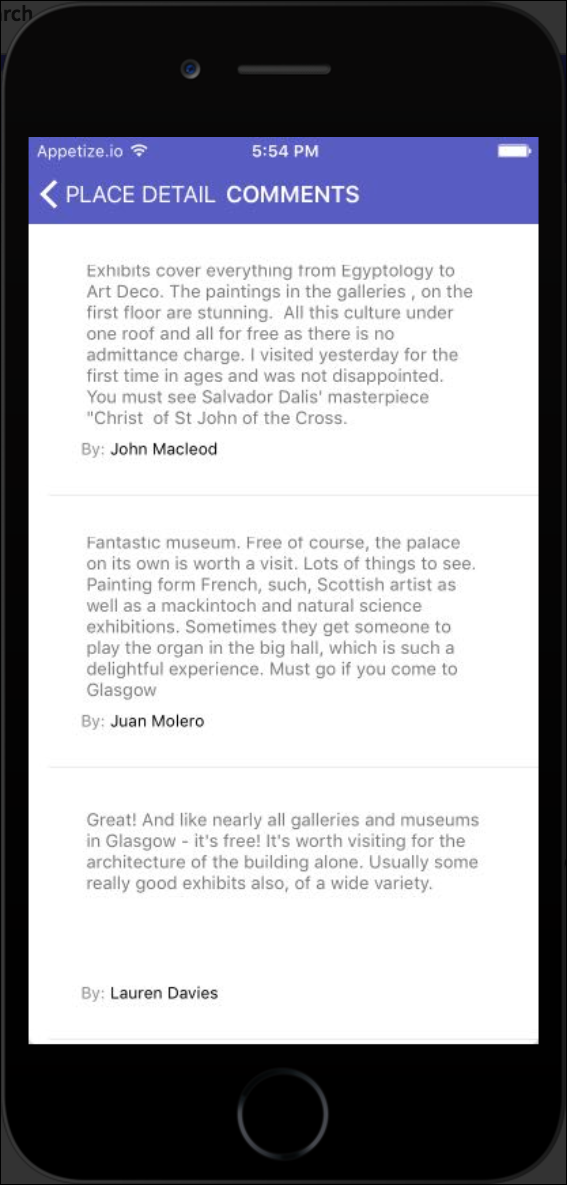
Comments page on iOS / Android.
Add a page, choosing Nav Bar / App Bar config, and naming it “Comments”. Configure the page and navigation Elements – set the page Element Navigation Item Title (iOS) / App Bar Title (Android) to “COMMENTS”.
Provide navigation back to the previous page. On iOS select the page and check Back Button Enabled in Properties. On Android, select the App Bar and in Properties, set the Nav Icon asset to the back arrow image you used last time. Select the App Bar and open Properties > Events, clicking Add for the Nav Icon Tapped Event. Add an Action, choosing Go Back a Page.
Pass the Place ID
Like the Place page, the Comments page will need to be passed the ID for the selected place, so create a Page Variable and name it “placeid”, with standard Swift / Java String type. Check Is required during inbound navigation and Save the variable.
Back in the Place page, select the Comments Button and open Properties > Events, clicking Add for the Tapped Event. Add the Go To Page Action, choosing the Comments page, Push transition, and the placeid Page Variable.

Display Comments
In the Comments page, the app will display a scrolling list of comments about the place, so add a Table / Dynamic List Element, rename it to “Comments Table” / “Comments List”, and make it fill the page. On iOS, set the Content Property to Dynamic.
Add a Table Cell / Dynamic List Tile inside the Table / List, renaming it “Comment Cell” / “Comment Tile”. Expand the default height of the Cell / Tile so that it’s big enough to hold a few sentences for each comment.
Inside the Cell / Tile add a Text View, renaming it “Comment Text View”, and making it fill most of the available space, but leaving a gap below it.
Under the Comment text Element, add a Label / Text View on the left, renaming it “By Label” / “By Text View”, and setting the Text Property to “By:”.
To the right of the By text Element, add a final Label / Text View, renaming it “Author Label” / “Author Text View”. Set the Text Property to “Author name not available”.
Your Comments page should look something like this:

Request Comment Data
The comments are in the same API response as the Place details, so open the API tab and add the details endpoint. Click to open it and select Query from the Parameters drop-down list. Bind the placeid field to the Page Variable you declared.

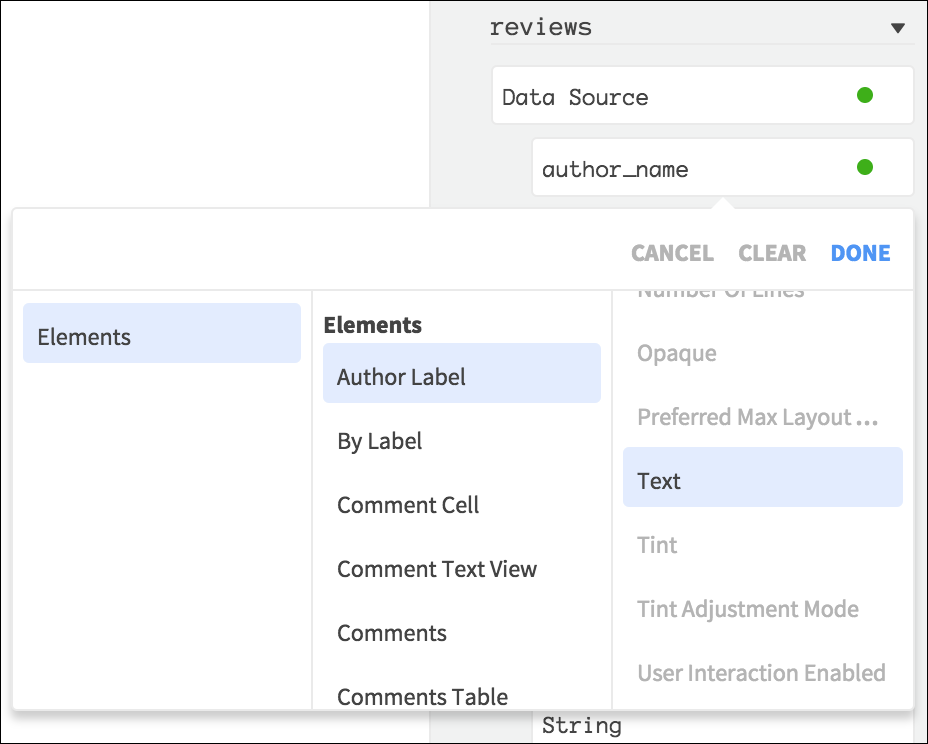
Open the Responses and bind the reviews Data Source to the Table / List. Inside the Data source, bind author_name to the Author text Element, and text to the Comment text Element.
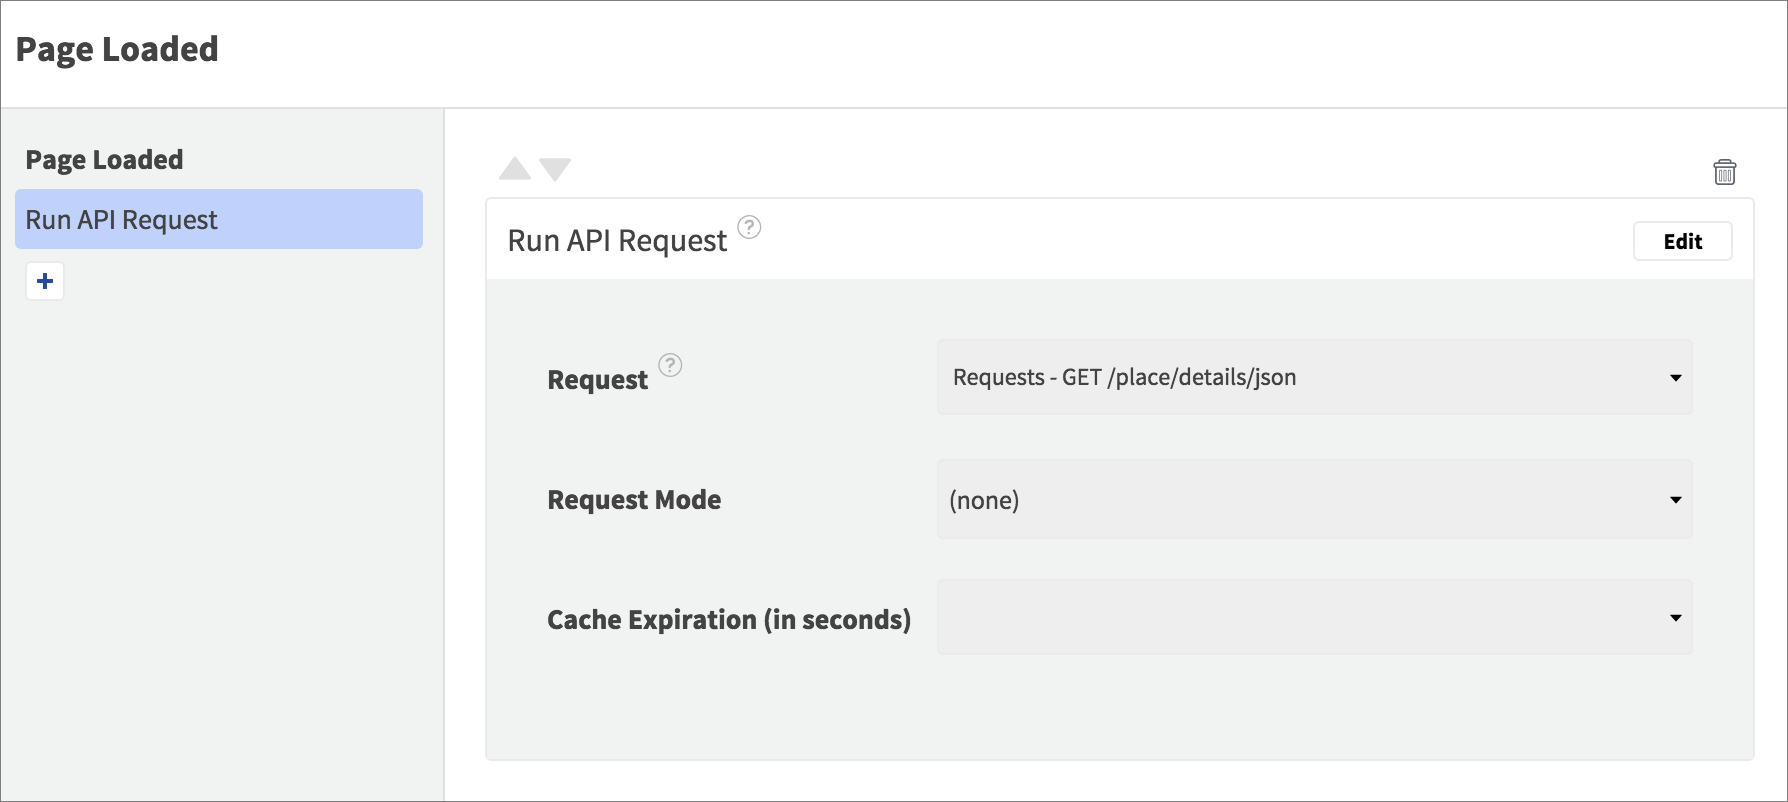
Like the Place page, in this page the request can run straight away, using the Page Variable passed, so select the page in the Element Tree and open Properties > Events. Click Add for the Load / Loaded Event and add a Run API Request Action, choosing the request.
Run the App
Now you can test the app again and see all of its functionality in action! Try a search, load the details, and view the comments – as well as navigating back between pages.

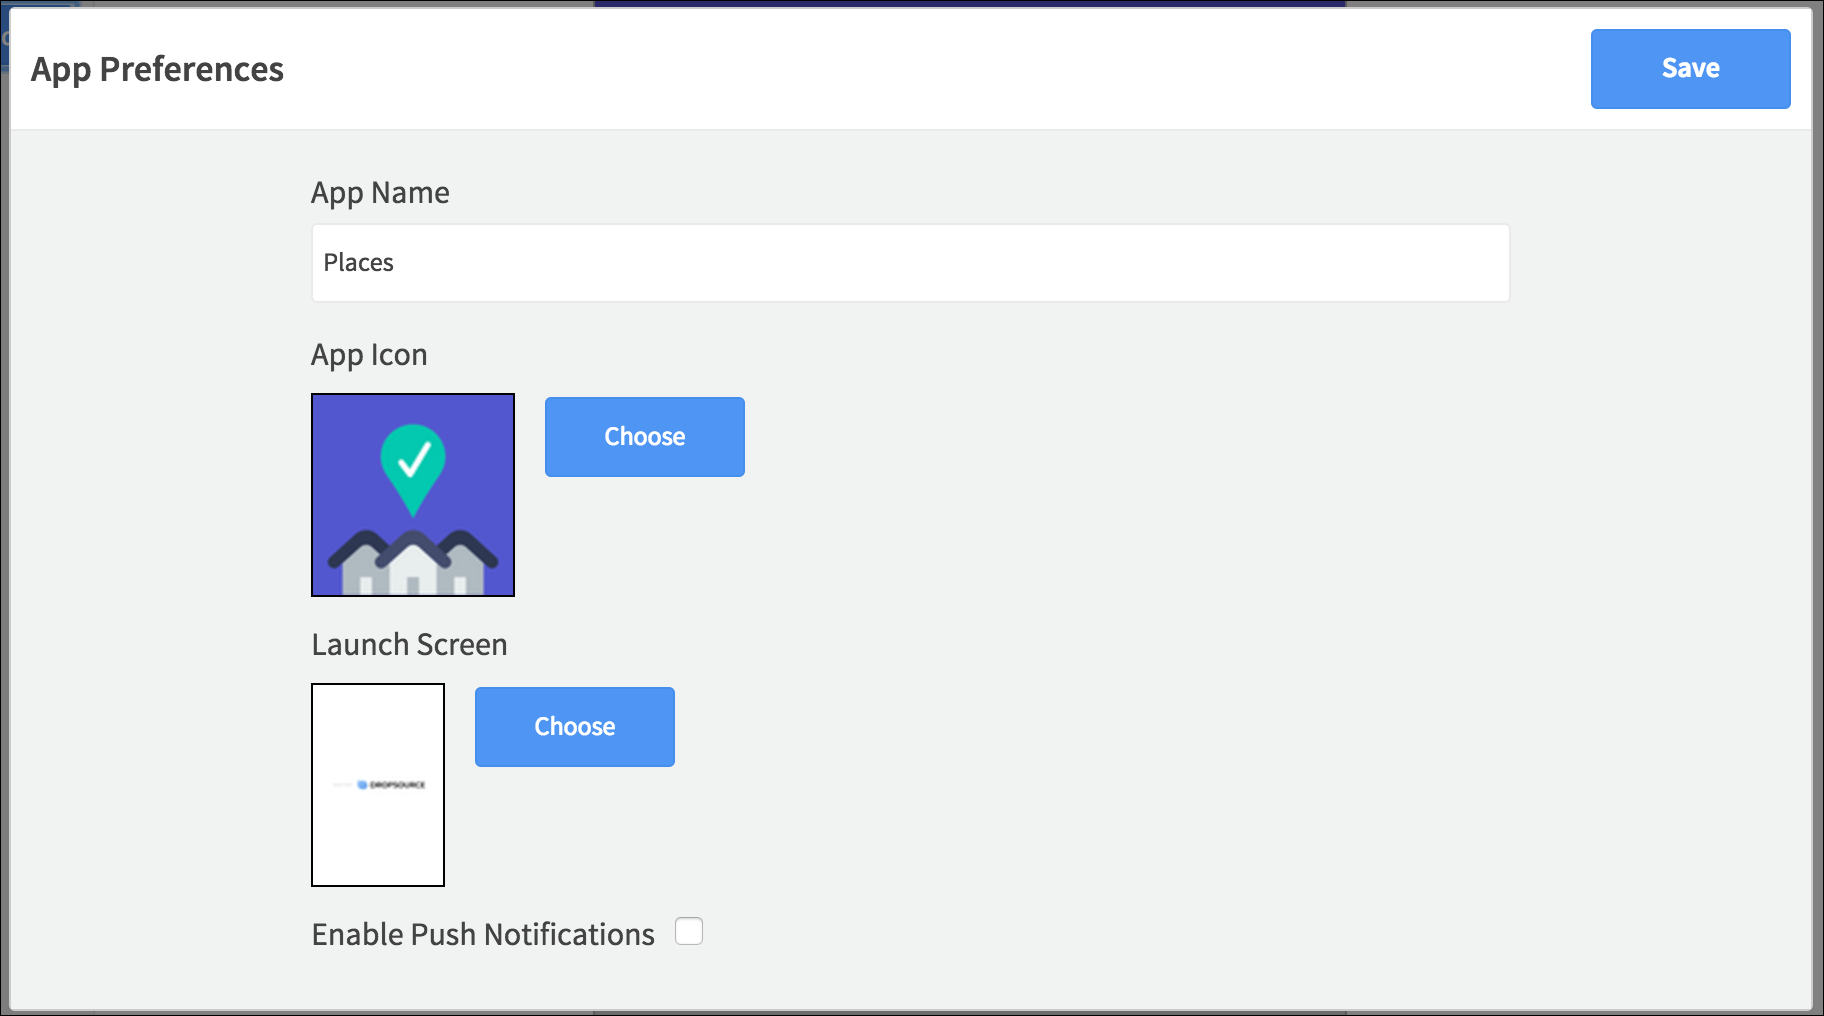
Check out the example apps for more detail on styling and the app Settings on the left – here you can upload icon and launch screen images as well as setting the name that will appear on the user device when the app runs.
Next Steps
Next why not try extending the app by adding more pages. Check out the other endpoints in the Google Places API and try adding them to the app as well. You can build location into the app by passing the latitude and longitude returned for each place to the Create a Location Object (iOS) or Create a LatLng Object (Android) Actions – for example, instead of the maps button on the Details page navigating to Google Maps, you could create a page with a Map Element in it and use the Add Pin to Map / Create Marker Actions together with the Set Visible Map Region Action to show the place location. You can also try experimenting with the cached request modes in your Run API Request Actions to manage potential connectivity issues on the user device.
For more complex app builds make sure you also check out our Checklist and GitHub Organizer tutorials and videos.